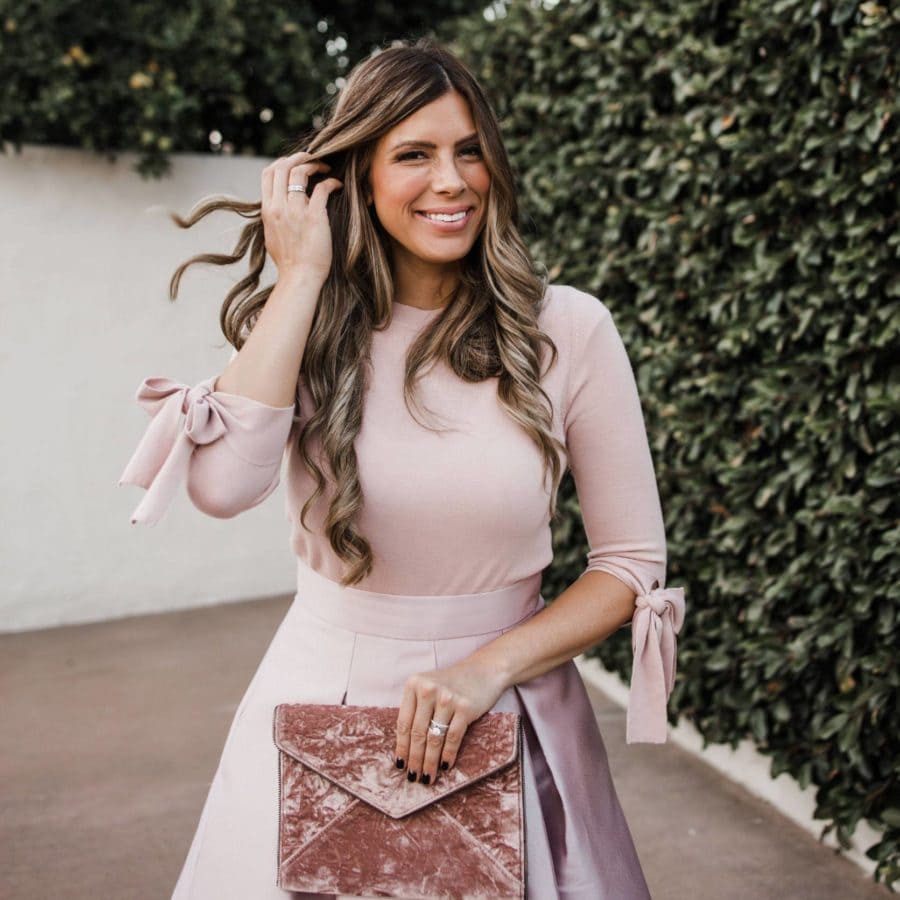
We talk all the time about fashion eras – but can we talk for a sec about brow eras? Has it shocked you how crazy different the brow trends have been throughout the years, too? From the (literal) pencil thin 90’s brow, to the thick, 2010 “IG brow,” to the natural, fluffy, 2021 brow – HOW do we keep up?!
All jokes aside, I’ve been actually really, really loving the more natural brow look lately, and I feel like my brows have forgiven me just enough from the early 2000’s to allow me to take part in it. I was always super afraid to try microblading since I’m a HUGE baby around needles, but brow lamination was something I knew I had to try! This is my full review of how the brow lamination went, with my new tips and tricks for my updated brow routine (including an almost BOGO free Gimme Brow gel deal)!
Sometimes our hottest deals sell out REALLY fast, so if you want to be in the know and find out FIRST, you can join our bestie group text! And don’t worry, I’ll only send you the VERY hottest deals that have the highest sell out risk – PROMISE. To join the list, text DEALS to 949-506-2558
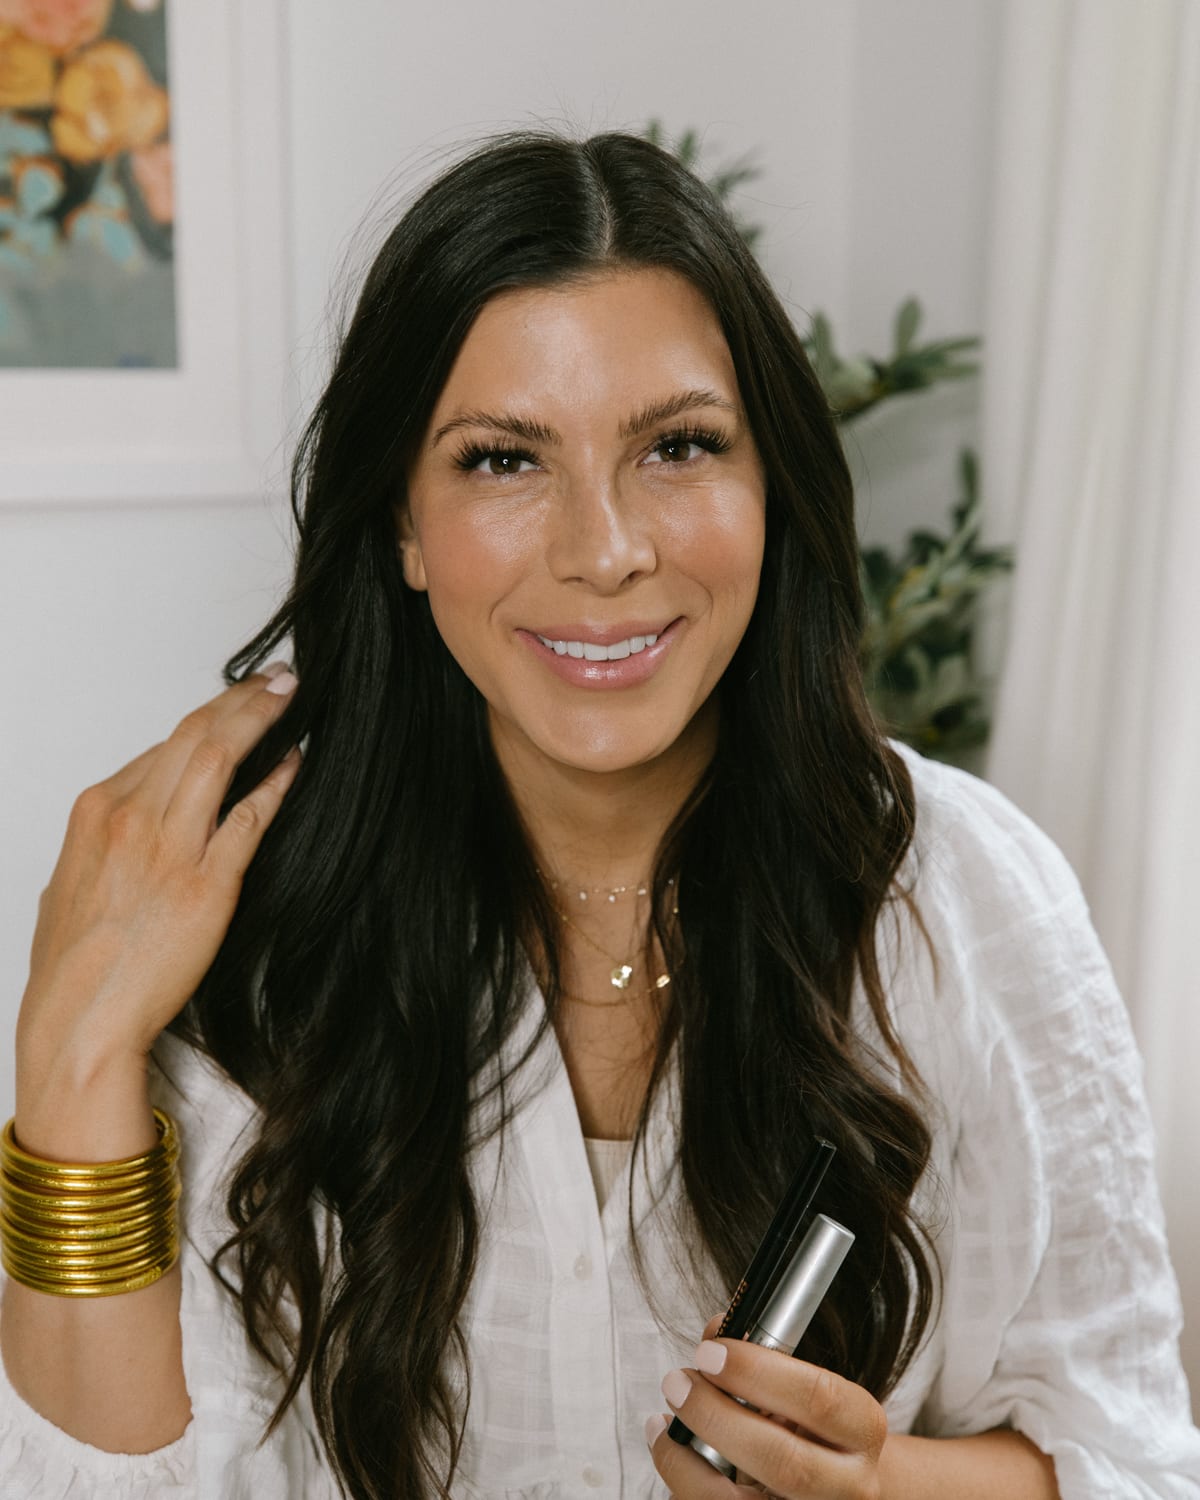
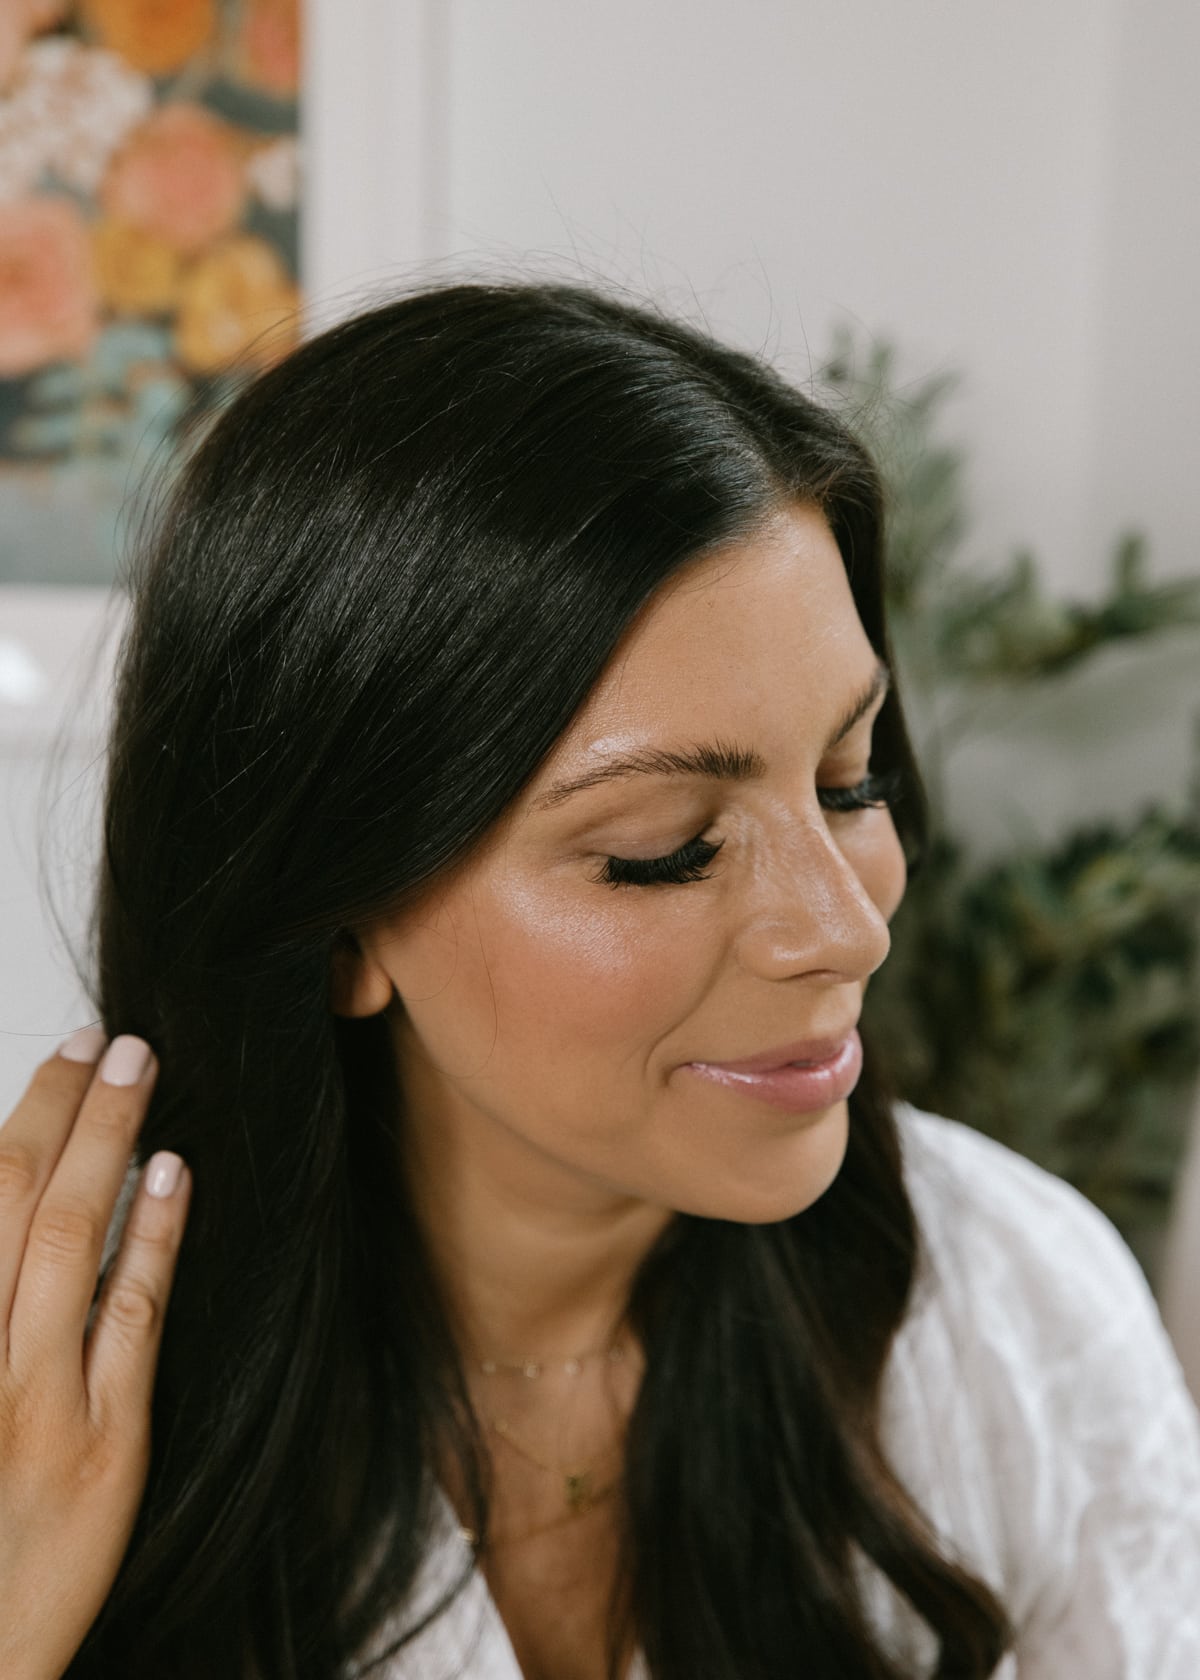
Table of Contents
What’s brow lamination anyway?
After posting on my Instagram Story that I got my brows laminated, I had SO many questions about it – with good reason! This treatment is relatively new so a lot of us are still learning what it even is.
Brow lamination is a treatment that allows for your eyebrow hair growth to be reshaped to create a fuller and more uniform pattern in your brows. In layman’s terms, it basically means you are getting a perm on your eyebrows. Don’t think curly! Think more volume and height. This creates the natural, fluffy look that is a super hot trend right now!
How long does brow lamination last?
It’s pretty incredible that this treatment that takes under 30 minutes lasts up to 4-6 weeks! My esthetician always tints my brows along with the lamination, too, which really helps keep that full and fluffy look popping for a little over a month.
What is the process?
This is what your provider will do when you go in for brow lamination:
- Cleanse the brow area.
- Apply a perming solution that will break the bonds of your brow hairs. This allows the hair to change its growth direction. (If you have ever gotten a lash lift, it is the same type of process!)
- Cover your brows with saran wrap for about 30-60 seconds to let the solution process. (Your provider might repeat steps 2 & 3 a couple times in order to make sure the brow hairs are all fully processed).
- Brush the brows to form them in the shape desired.
- Apply nourishing treatment.
- Detail and shape the brows by tweezing, waxing, tinting, trimming, etc.
Lamination aftercare
You are not allowed to get your brows wet or put makeup on them for 48 hours! My tip is to shower and wash your hair right before you go in so that you are as fresh as you can be for the two days following.
During those two days, I carefully use a makeup wipe to remove my makeup before I go to bed, totally avoiding my brow area. You also don’t want to workout to the point where you are drenched in sweat, because that will mess with your brows, too. Brow lamination is definitely a treatment you will need to plan for (no pool parties or ocean swims or showers for 48 hours after), but I’m telling you, it’s SO, so worth it!
As for aftercare and upkeep – you will want to apply brow conditioner daily when you style them to make sure they are getting the nourishment they need. But other than that, they are really set to go and they will be the new favorite part of your makeup routine because they will already look SO good with very little to no effort at all!
My new brow routine
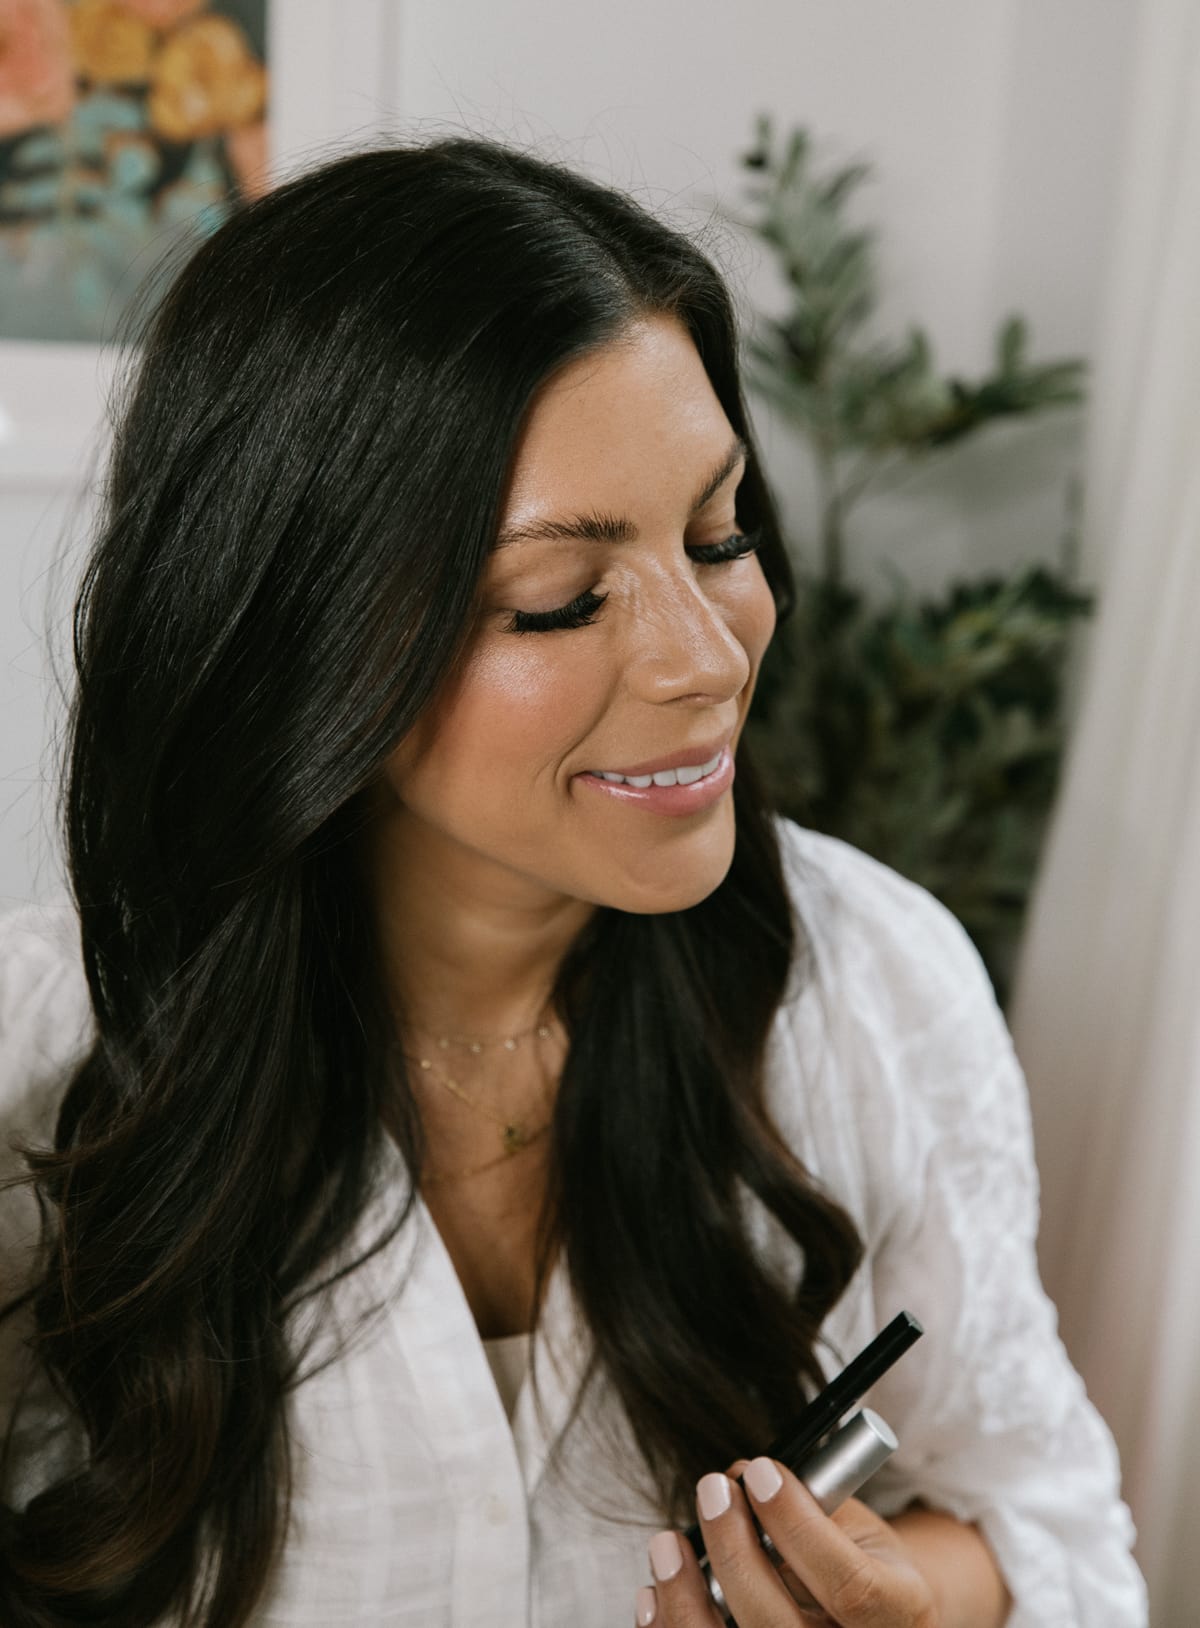
To be honest, there are a LOT of days where I don’t even touch my brows anymore! Isn’t that crazy? I love them SO much when they are laminated and tinted. They are full, fluffy, natural, and truly a mom’s dream come true when it comes to makeup routines.
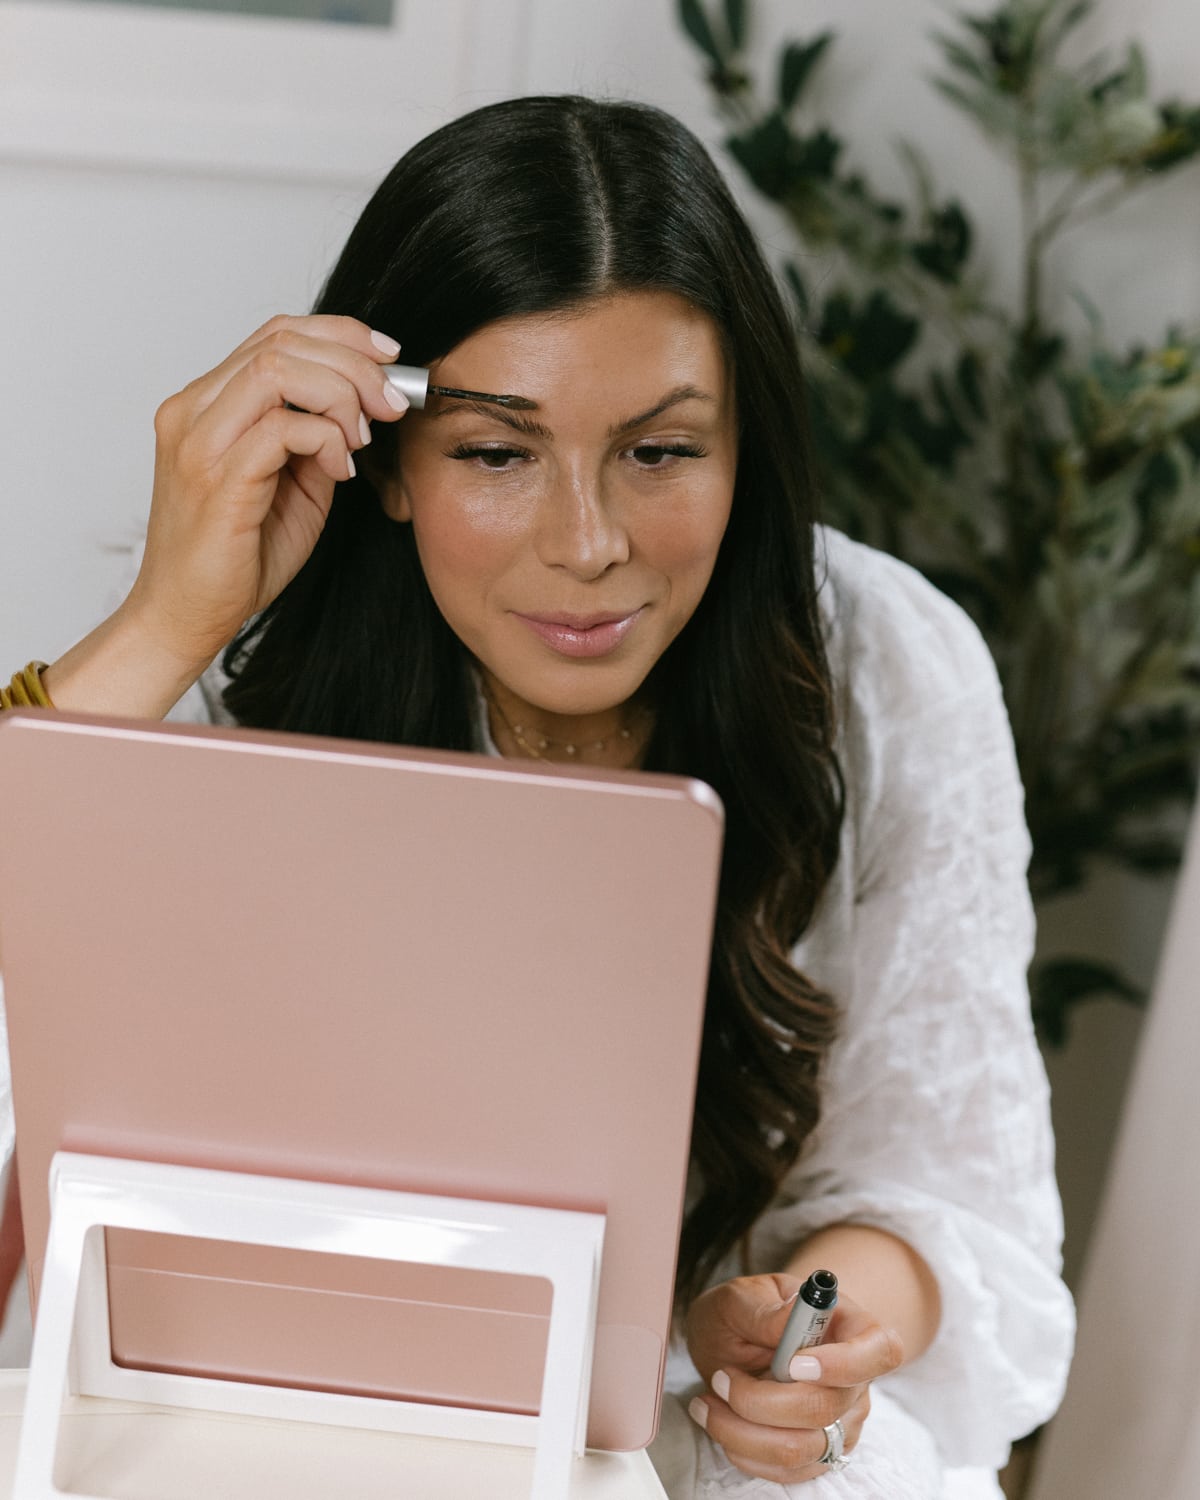
On the days I do want to “dress” them up a bit, I use a brow gel to set them and give them a little more definition. I really have been loving IT Cosmetics’ newer brow gel in Universal Taupe, and of course my holy grail fave is the Gimme Brow gel in shade #3 – which is on MAJOR sale today!!
AMAZING Gimme Brow gel deal!
Right now you can grab TWO Benefit Gimme Brows for only $28 (reg $48)!
Deals this good on Benefit Cosmetics eyebrow products don’t come around often, so stock up and do it quick, because I have no idea how long it will last!! I’m seriously freaking out, because this Benefit eyebrow gel is so SO good, and for only $28 for TWO of them (when normally you would pay $24 for one)?! That’s an absolute no brainer.
Why I love Gimme Brow gel
Gimme Brow gel has been a long time Mint Arrow holy grail beauty product (see 19 more holy grail beauty FAVES here). It’s almost spooky with the way it magically fills in your brows and makes them appear fuller! It’s like you grow eyebrows (in the BEST way) as you apply it. Seriously so cool. And I absolutely love it on top of my brow lamination for a really defined, thick, yet natural look!
Brow lamination and Gimme Brow gel are the most perfect marriage, and I am HERE for the change in my brow game along with this old tried & true fave!
Brow products for filling in
Brow gel is SO great for volumizing the brows you already have, but sometimes you have to fill in a bit where you have little bald spots (let’s be real!). So let’s talk about some of my favorite products for filling in the gaps when needed.
I really love IT Cosmetics’ Brow Power pencil in Universal Taupe. When I want my brows to look a little more filled in, I will pull this pencil out and it gives me that natural but thick look I’m wanting every time! I mostly do this a few weeks after my treatment, once the lamination is starting to fade. It gets me through till my next appointment!
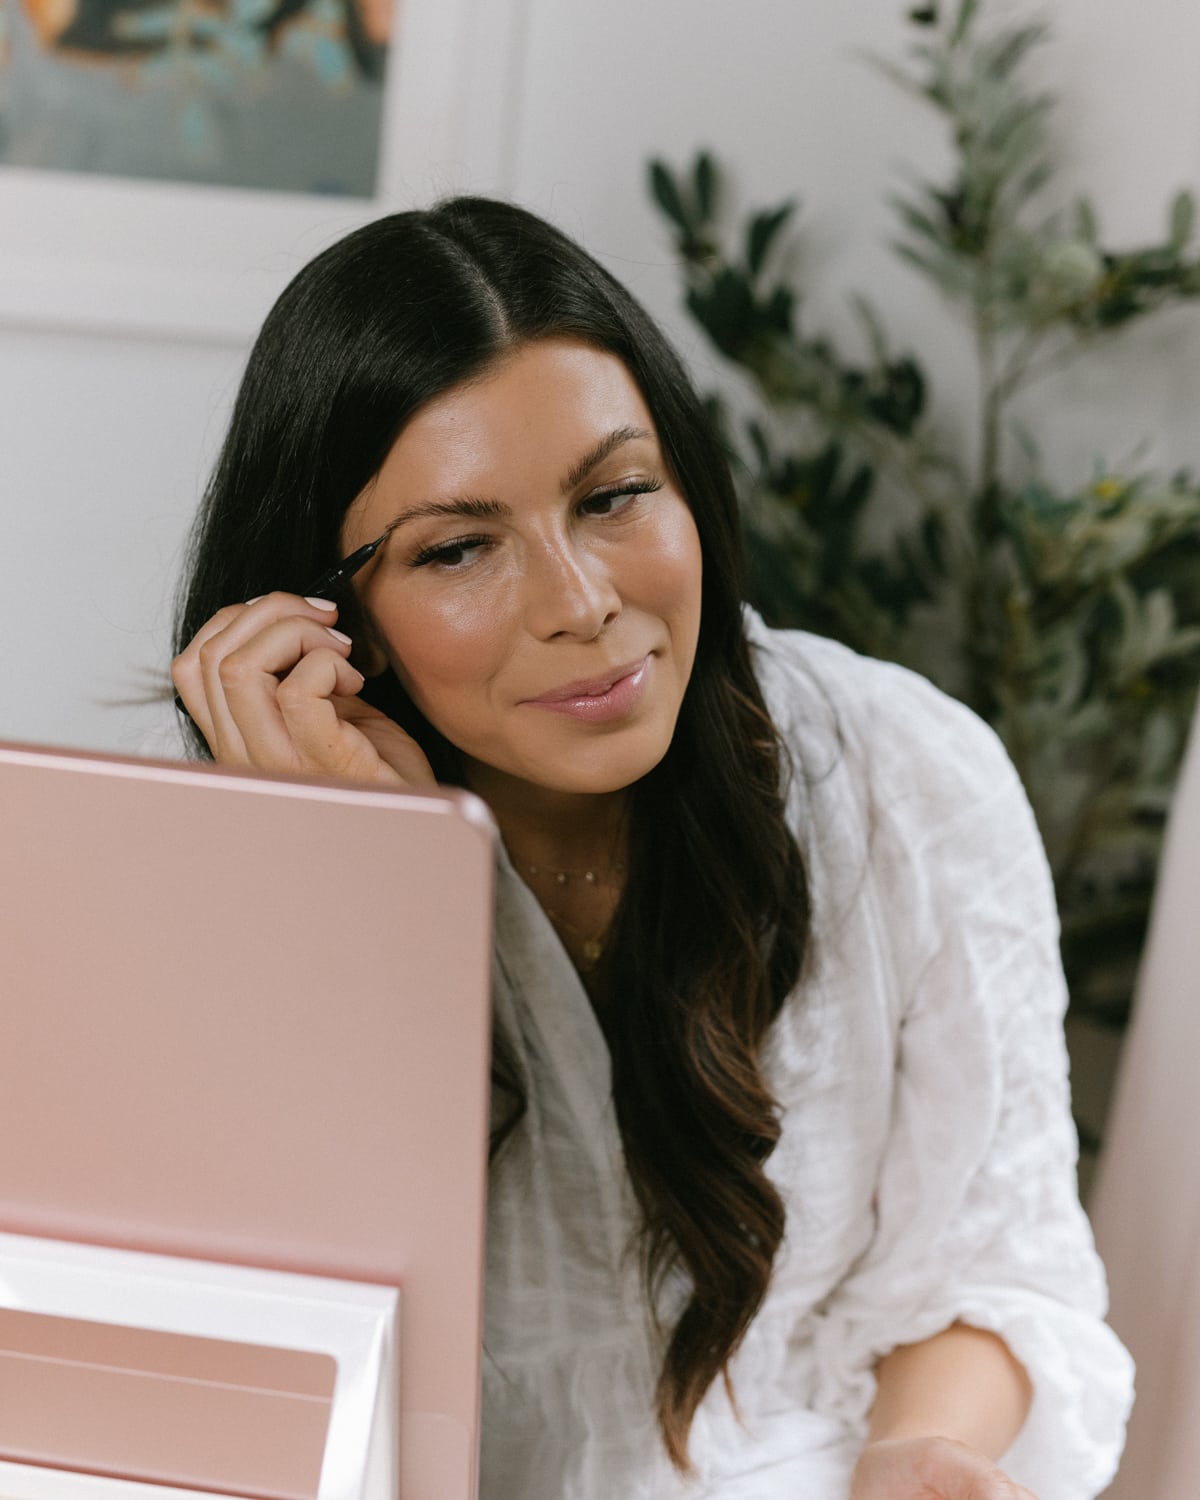
BUT my latest favorite brow product has been the Anastasia Detailing Brow Pen. This pen has the perfect point to it that gives you TRUE hairlike strokes that literally look like your own natural brow hairs. It gives you the satisfaction of microblading for fullness, without the pain! I use this product more than any other to fill in any of my small brow bald spots, or if I want to extend the end of my brow out a little bit. It’s basically a touch-up tool and I absolutely LOVE it!
Another tip: shape it up
As fuller brows have become the norm, I’ve researched and picked up a couple tips for getting the ideal shape for your face, since it’s totally not a one-brow-fits-all kind of thing! I have been using this method for a while, and it’s still what I reference when I touch up my brows to this day.
To start out, use a pencil (or other straight edge) to make a straight line straight up from the outside of your nostril. This is where your eyebrow should begin. Angling from the middle of your nose through the middle of your pupil will give you the perfect high point for your arch, and then tilting from the tip of your nose and through the corner of your eye gives the ideal spot for the tail of your brow to end.
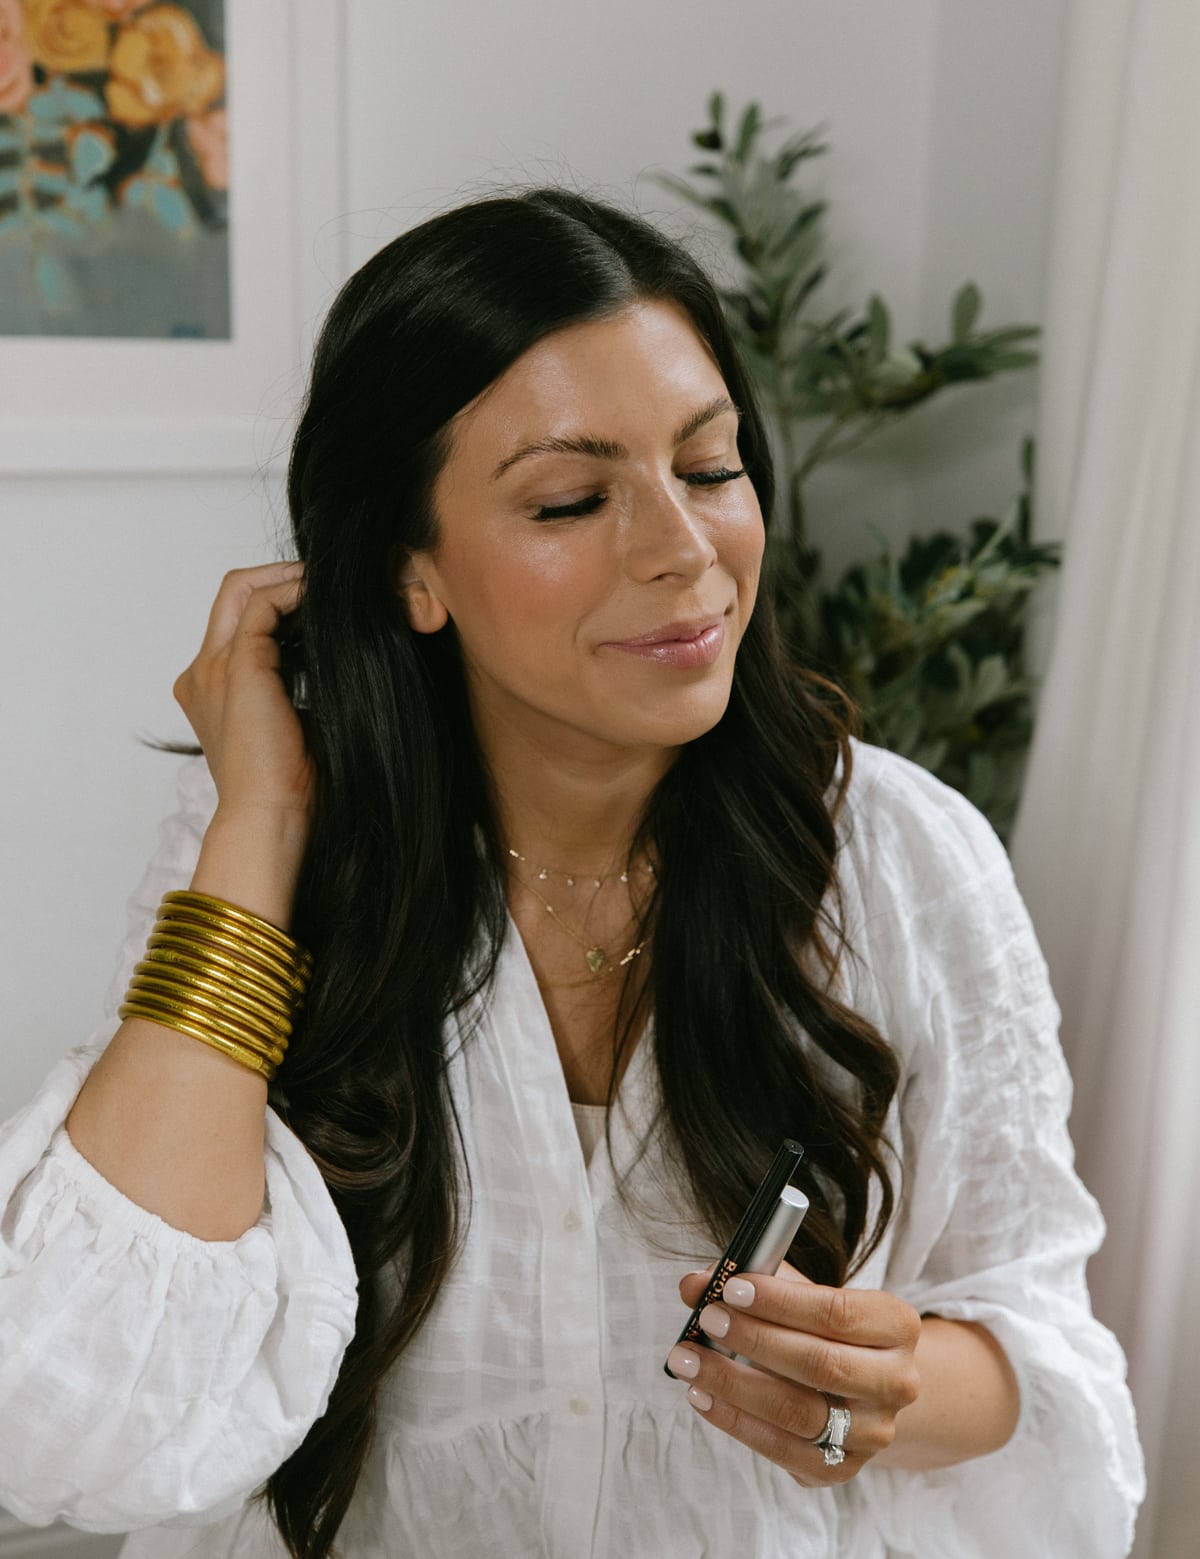
IT Cosmetics Brow Power Filler
IT Cosmetics Brow Power Pencil
Anastasia Beverly Hill Micro-Stroking Detailing Brow Pen
Dress
Gold Bangles
Photos by Arielle Levy
Wow with those brows
Everyone deserves a little self care, and laminating your brows is SO fun and so worth your time! Especially with summer coming up – who wants to spend the day completely filling in their brows, when they can look natural and glowing all summer long with hardly any effort at all? I know I’m super happy with my results, and I think you will be, too. If you want to see more about my brow lamination, make sure to keep an eye out for the reel I’m posting today on Instagram!
ALSO, don’t forget about this insane almost BOGO FREE deal on Gimme Brow gel today! Two for $28 – that has “stock up” and “brows on fleek” written all over it!


