Quick Version: I’ve rounded up all of my fave self-tanners below + tips and tricks on how to get the perfect application for a fool proof, year round summer glow!
I love a good summer tan, but I really love a good summer tan year-round! So self tanner is basically my BFF.
Some of the most frequently asked questions I get are about self tanner. Which is the BEST self tanner? Which one’s the best for your FACE? What’s the best way to apply self tanner? How do I prep for a spray tan? Which one lasts longest? So today I’m tackling all those questions in one post so you can slay that beachy vacation glow all year long and protect your skin from sun damage! WINNING!
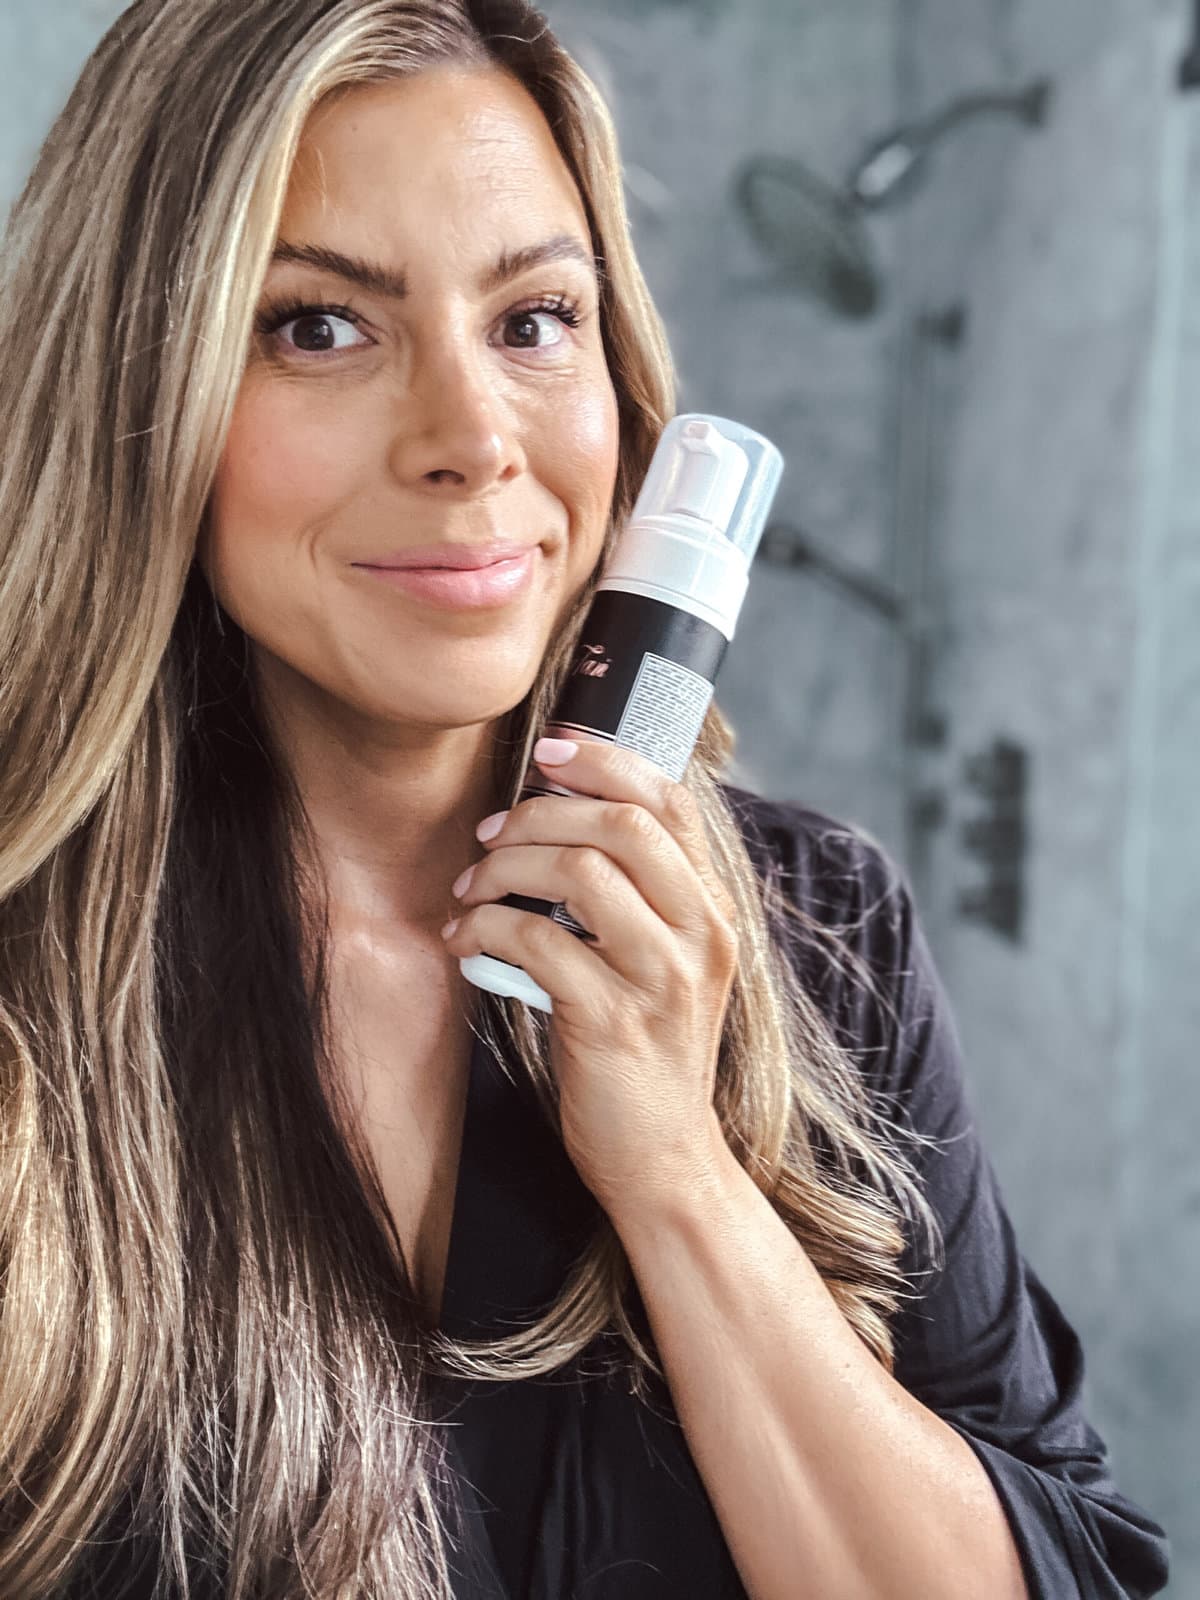
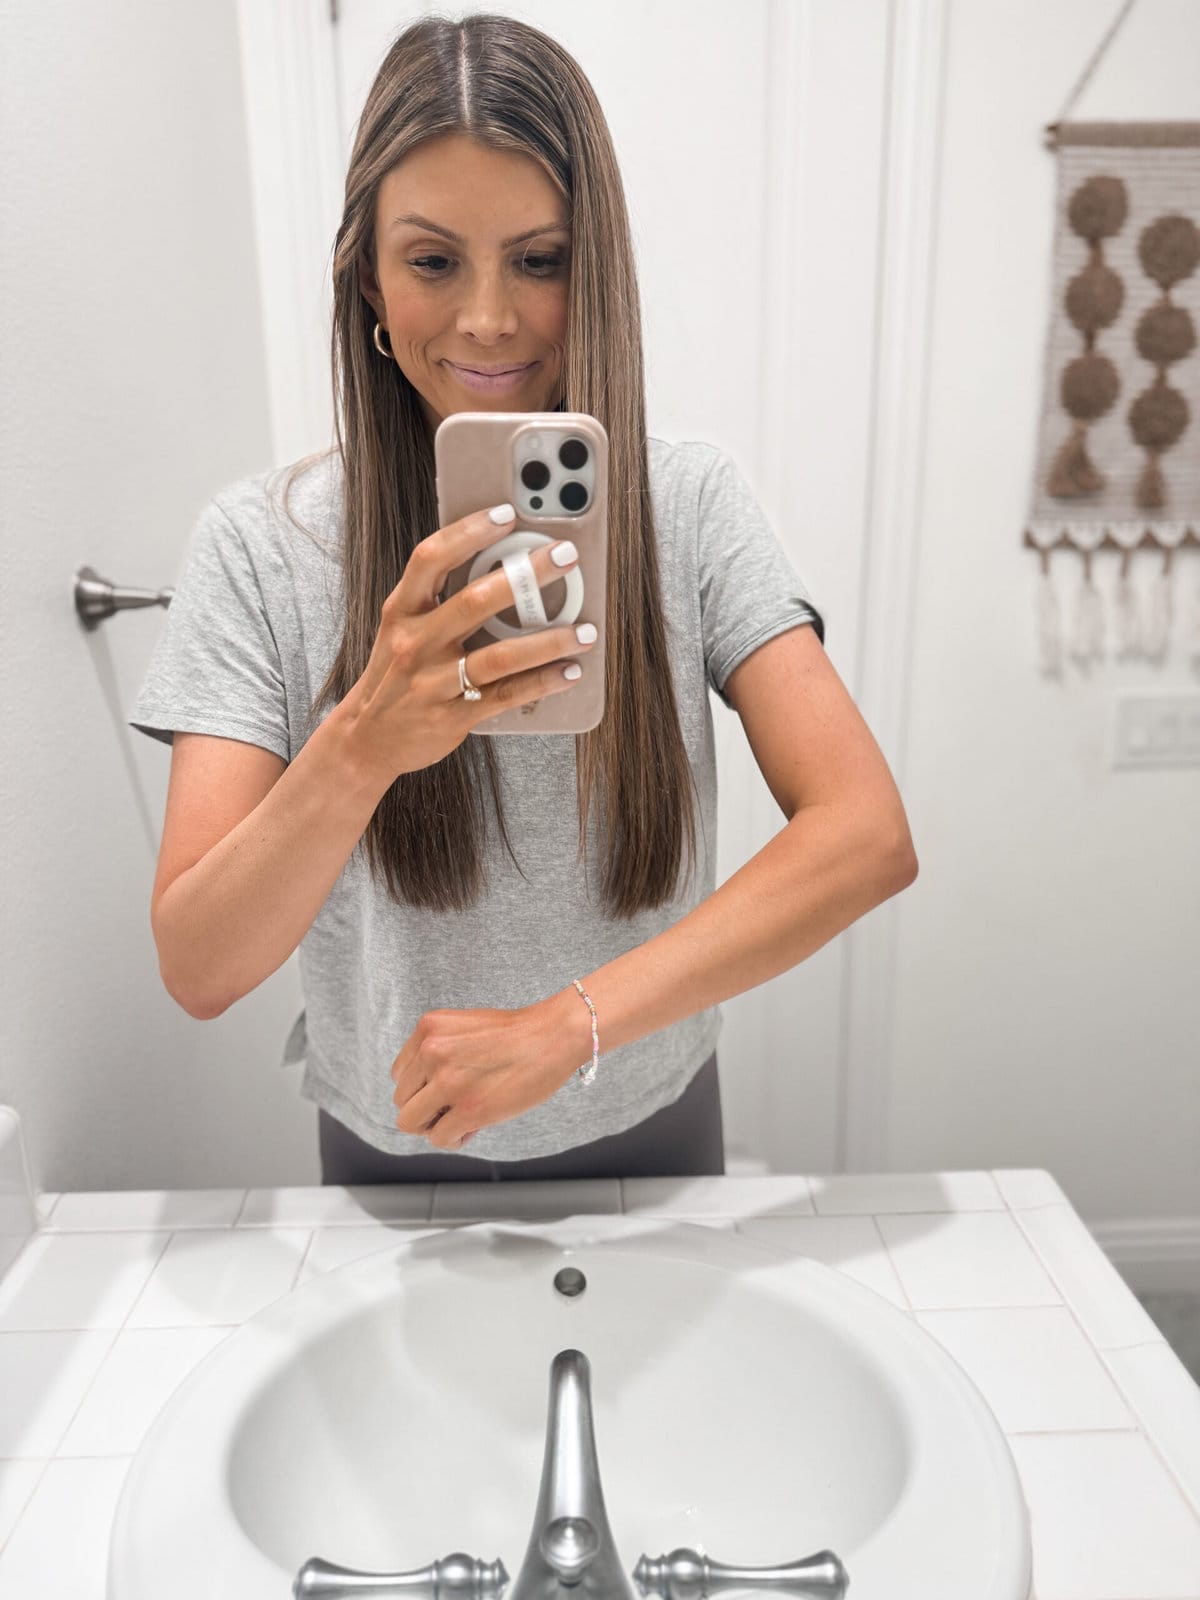
Table of Contents
- Step 1: Exfoliate your body
- Step 2: Exfoliate your face
- Step 3: Apply self tanner
- Favorite self-tanners
- Holy grail mousse self-tanner
- Foam self-tanner
- Self-tan water
- Lotion self tanner
- Tanning drops
- Tan wipes
- Face tanner
- Step 4: Stay dry, then just RINSE
- Step 5: Moisturize
- Step 6: Maintain
- FAQs
- How to remove your self tanner
- Here comes the (faux) sun
Step 1: Exfoliate your body
Exfoliate, exfoliate, EXFOLIATE!! Seriously. Don’t skip this step. At least 24 hours in advance (if I can) I soak in the bath for at least 20 minutes. Longer if I have a really good book or podcast I’m into!! Then I use either charcoal exfoliating gloves, or an exfoliating mitt. Either will work. Just go to town and exfoliate everything from the neck down super duper well!!
There’s a lot of sugar scrubs and salt scrubs out there that do a fantastic job of exfoliation, BUT they also leave an oily residue on your skin. This is not the best base for applying a tan, because the oils act as a barrier and the tan has trouble sticking! If you know you’re showering in between your exfoliation session and tan application and washing with an oil-free soap then you’re good. But if not, I would avoid these scrubs since they’re usually VERY oil based and your spray tan or self tanner will slide right off your skin instead of sticking!
So, bathe for 20+ min + charcoal gloves or exfoliating mitt + bar soap without any oil in it to wash and exfoliate and then rinse it all off. This is going to give you your very best body base for a spray or self tan.
Step 2: Exfoliate your face
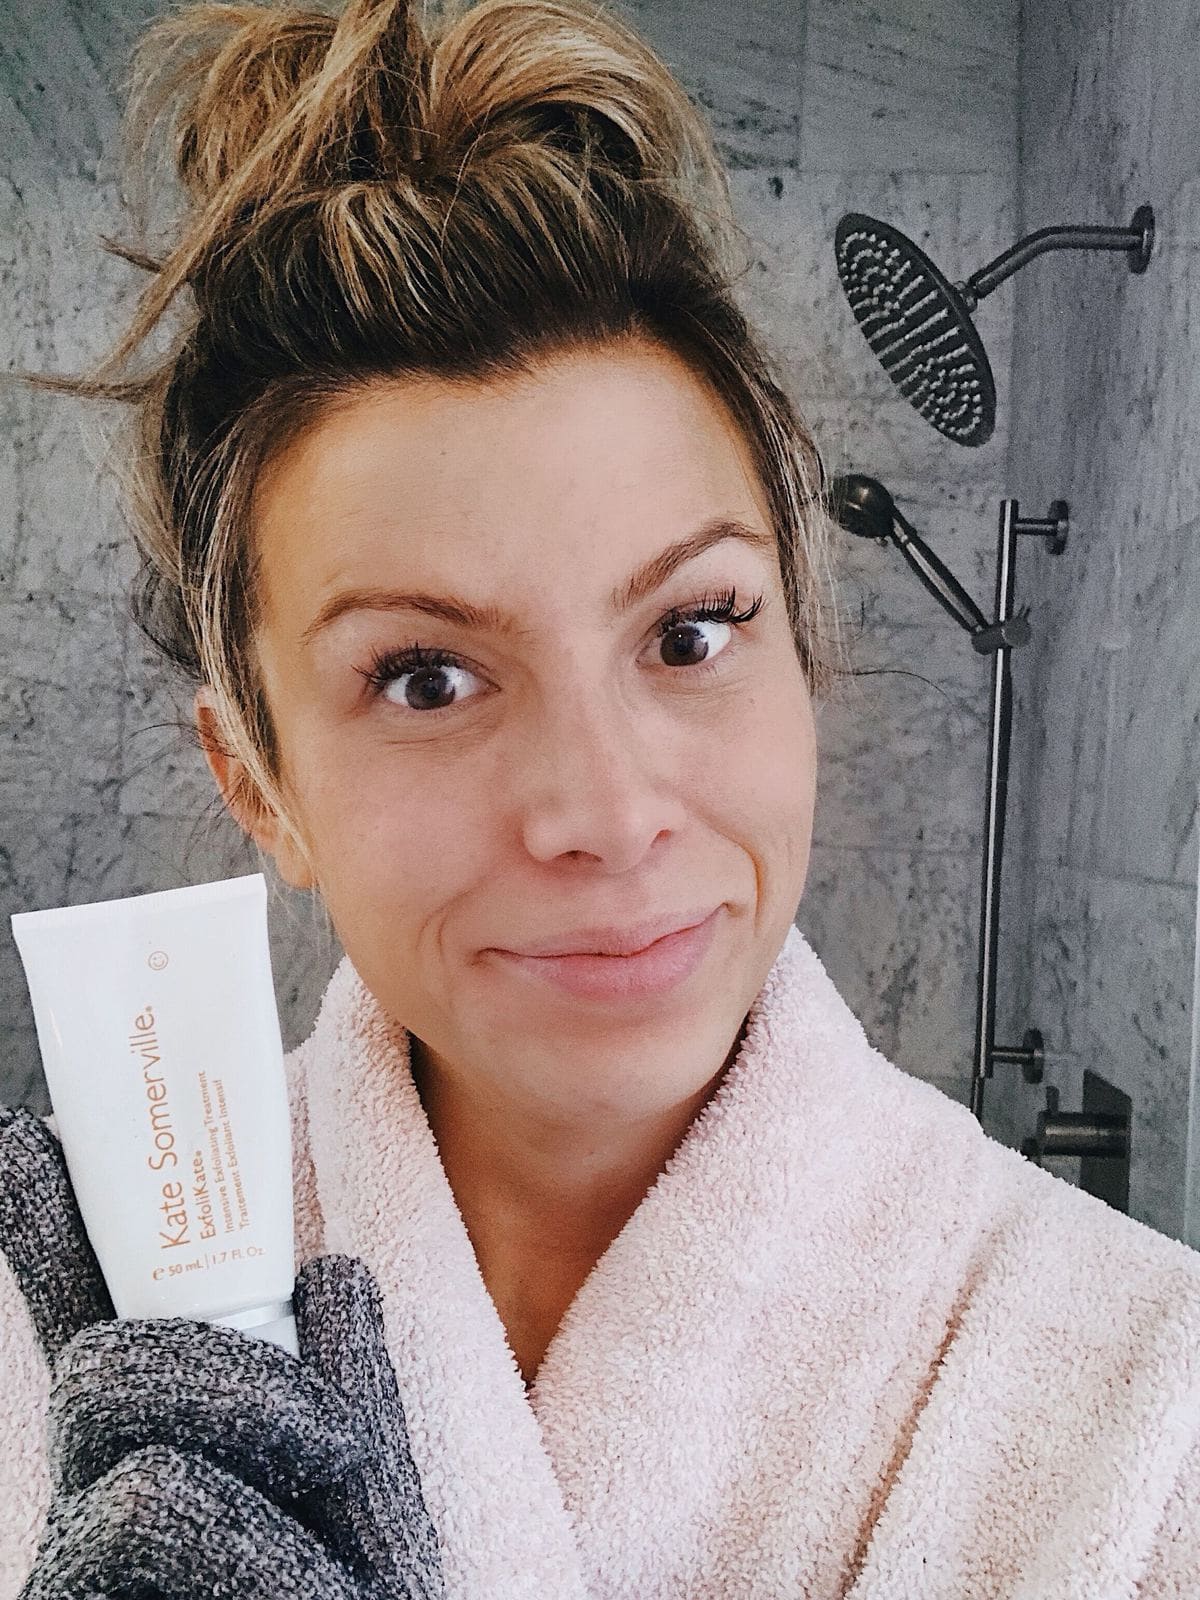
Charcoal gloves would be like way harsh to use on your face. Ouch! I like to first exfoliate with ExfoliKate scrub and then wash with this Tatcha Deep Cleanse Exfoliating Cleanser which is oil-free and amazing for making sure my face is squeaky clean before I put on any self tanner or spray tan.
Step 3: Apply self tanner
Don’t skip THIS step!
It’s tanning time! But first…don’t forget to get some LOTION and put it on your elbows, knees, knuckles, ankles, heels, the backs of your knees -anywhere you are prone to dry skin– so that your tan doesn’t end up double (or triple) strength in these spots where dry skin will soak up self tanner more than your normal skin! Yikes!

White Crochet One Piece Swimsuit sold out, similar
Floppy Hat sold out, similar
Gold Flip Flops
Tropical Straw Tote sold out, similar
Beach Towel sold out, similar
Photo by Arielle Levy
Favorite self-tanners
I’ve tried like EVERY self tanner out there. Okay maybe not every, but dozens. Truly. And after tons and TONS of testing, trying, seeing how long each lasts, how my skin reacts, whether they transfer to sheets, which are easiest to apply, which have the cleanest ingredients, I have my master list right here for you of THE BEST self tanners, according to your needs. Ready?
Holy grail mousse self-tanner
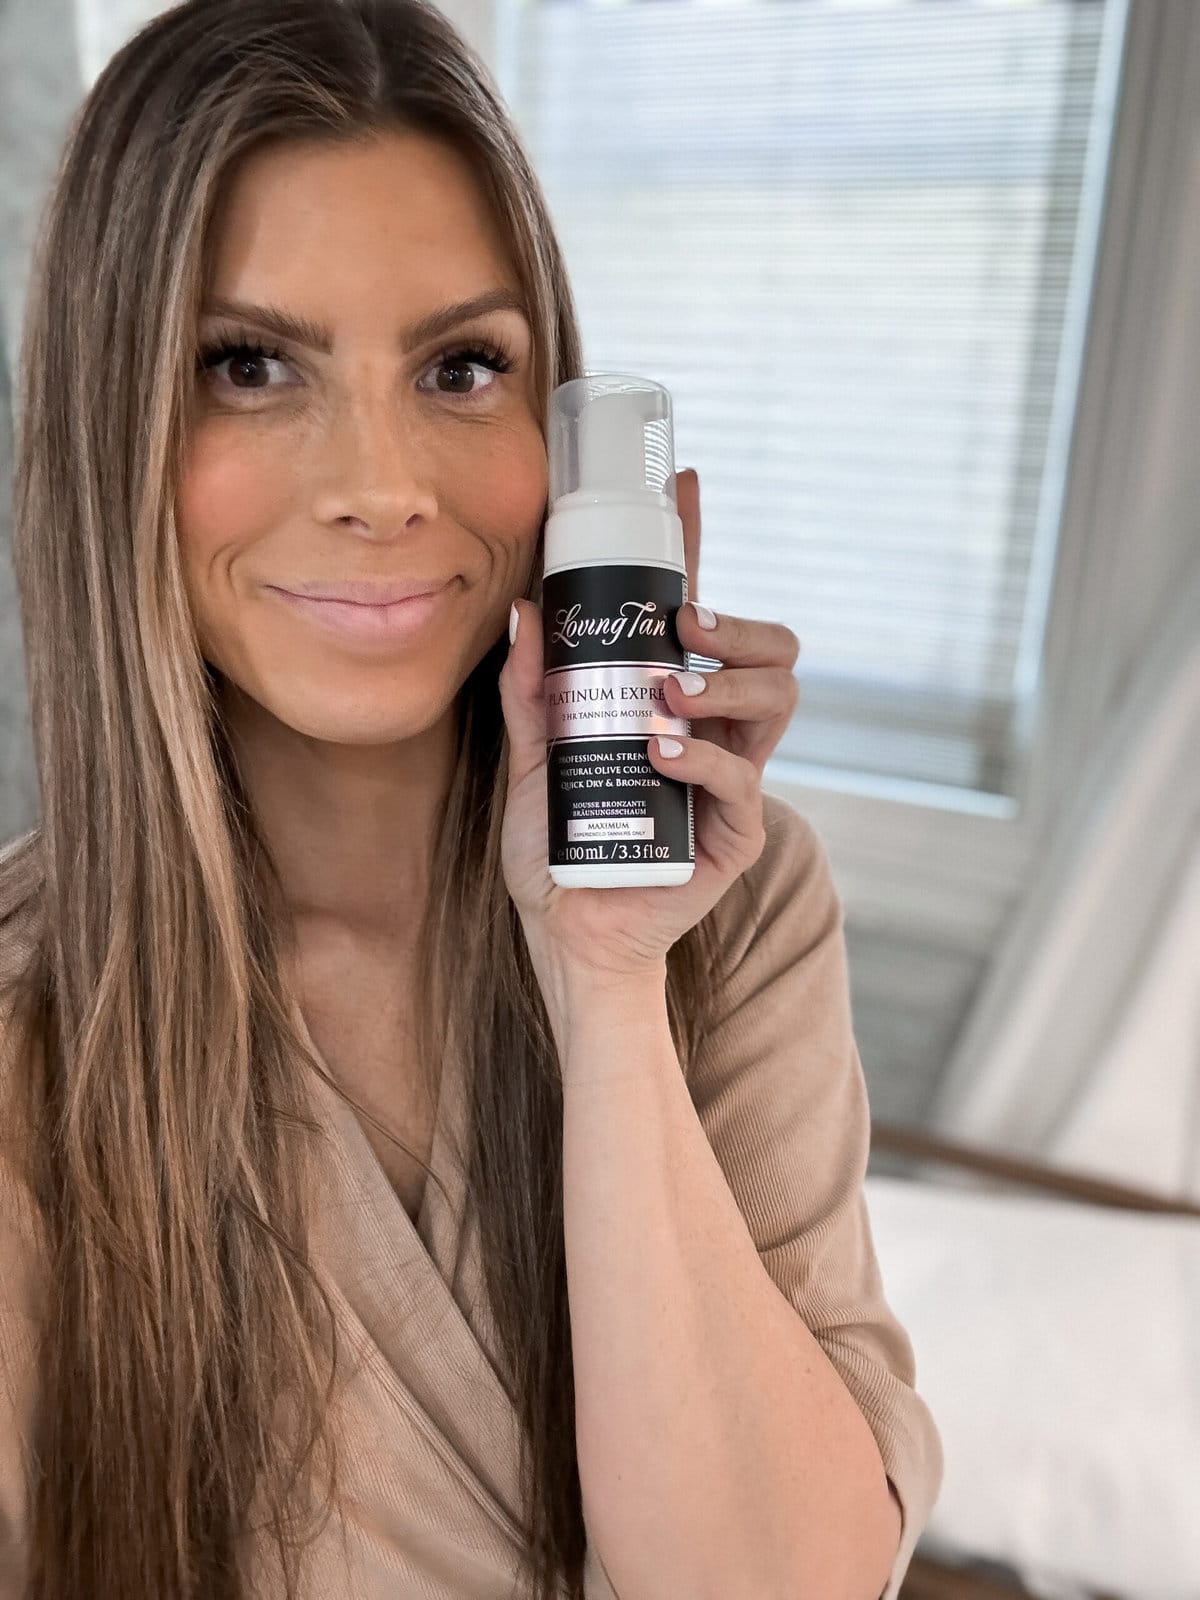
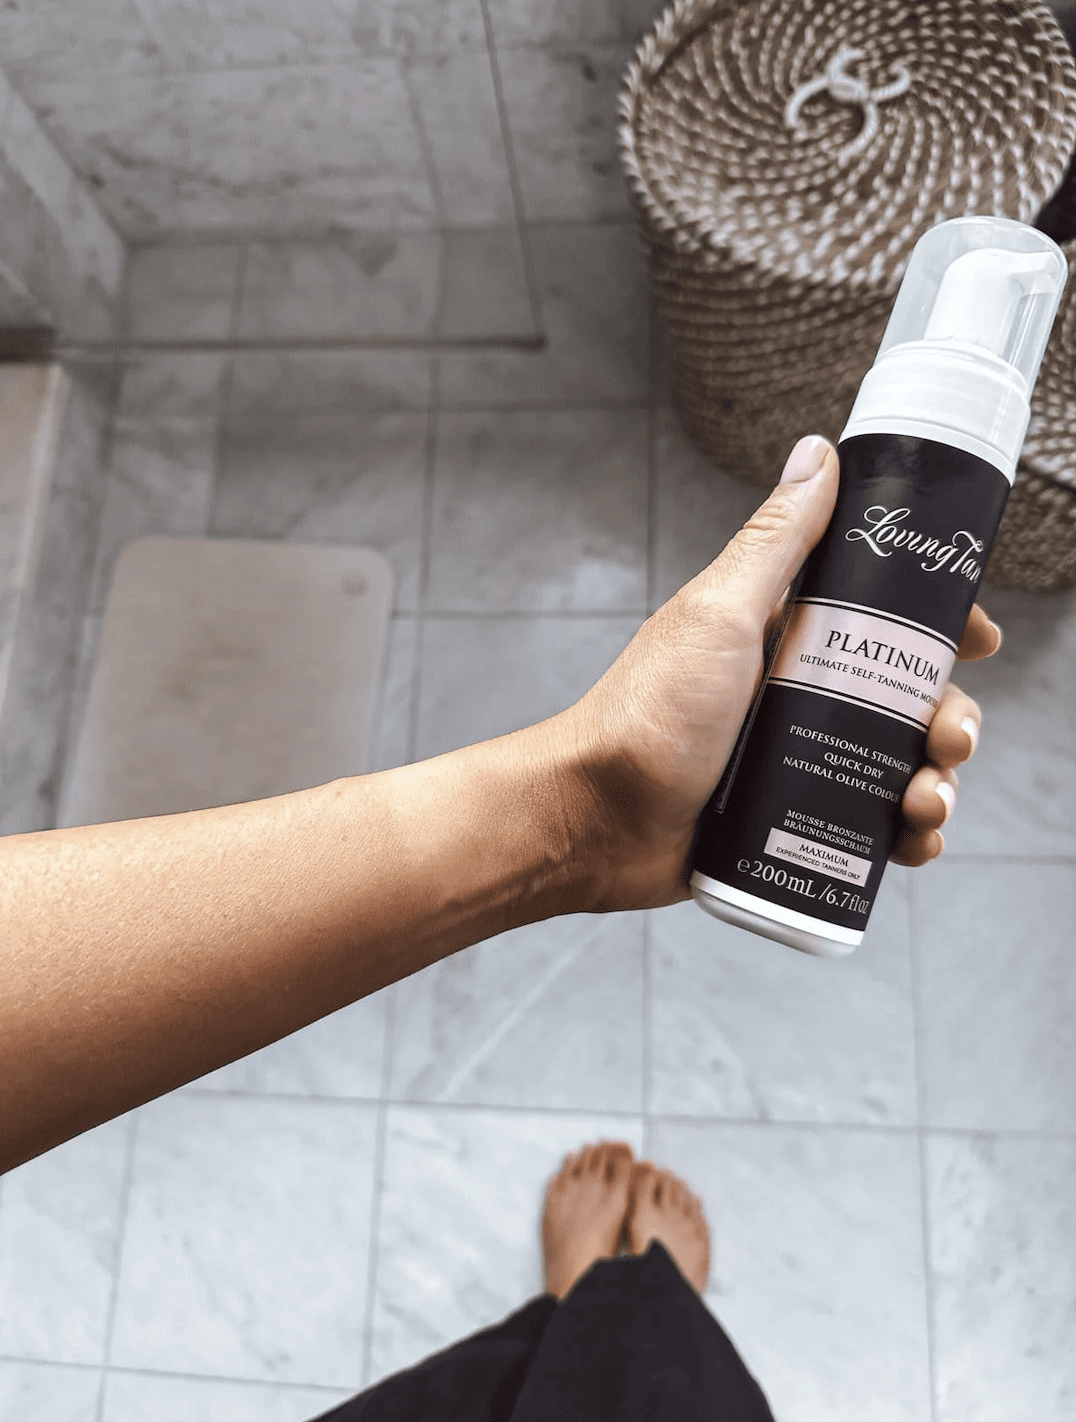
For me, Loving Tan is my holy grail product when it comes to a really good deep tan. I think their products work best on skin tones with a warm or red undertone. The tan I get from this Platinum Mousse formula is way beyond a pretty bronze – this will literally make people ask where you just vacationed.
This allure award winning product says it’s best suited for experienced tanners because it gives you the maximum results, but I think even if you’re not super professional you can still use it! It only needs one coat (which is amazing) and cuts down on time.
Most tanning foams I’ve used take 2 layers to make it look really good so having a single layer use is amazing as a busy mom. The application goes on SUPER fast and dries faster than any self-tanner I’ve ever used! Overall it works beautifully.
NEW: I also just barely tried Loving Tan’s brand new 2 hour express mousse and I’m IN LOVE! This is their deepest, darkest shade made for the ultimate tan lover and I’d say it will give you a legit tan for a week! It develops the prettiest, sun-kissed glow in just the 90 mins (even though it says 2 hrs!!)
Plus, right now you can use code 15LTK to get 15% OFF sitewide thru 5/19 at Loving Tan!
Foam self-tanner
Foam self-tanners are good for beginners, easy to apply yourself, and the ones that give you a beautiful color the first time and last a long time.
The best QUICK foam self tanner: This 2-hour platinum express self tanner is definitely the best if you want quick. I LOVE that I can use it and get a decent tan in 2 hours if I forgot to self tan the night before something where I want to be tan or if I just wake up and look at myself and realize I’m looking pasty haha. I do love leaving it on overnight though and waking up and showering – I feel like it’s even better if I can do that! This foam self-tanner has more of a reddish hue to it that turns out looking like a really natural tan, the kind you would get after a few days in the sun that truly looks like you just went on vacation.
One of the only downsides of this foam tanner is that it’s a little on the pricey side, and I go through it pretty fast. But rn if you use code 15LTK you can get it for only $38.21 (reg. $44.95)! If you want to grab one that will last longer that’s another strong contender for my favorite, try my second pick:
2nd place quick foam self-tanner: If you’re more into green tones, and just want something that looks more olive than, “just went on vacation” with a hint of red like you were in the sun, you will LOVE this quick foam self-tanner. This is a LOT of people’s ride-or-die, holy grail self tanner and I have to say it’s a very close second to my #1. I wouldn’t be even slightly disappointed if this was the only self tanner I could ever use the rest of my life. Get it here for 20% OFF making it only $36.80!
Best BANG for your BUCK tanner: I’ve tried a few variations of this brand and they’re ALL SO GOOD! This is my favorite because it’s easy to apply and really IS long-lasting! Be sure to apply with this mitt! Well worth the $5.97 – promise!
Best smelling foam self-tanner: If you’re super particular about smells but want a beautiful full-body tan, I highly recommend this kind! It DOES stain white clothes or laundry though, so just be aware/careful of that! But when I’ve put this on, Neil always says “ooh what smells good?” It lasts all week too and fades really nicely, compared to some that end up splotchy and scary toward the end of a week!
Self-tan water
The best self-tan water: If you’ve heard of these and wonder if they work, my answer is YES they do and this one is the best I’ve tried! It goes on completely clear which is cool because it doesn’t transfer to white sheets or clothes, but also not cool when you don’t realize you missed a spot.
That’s why most self-tanners have some sort of bronzer, so you can see exactly what spots you got and where you may have missed. For this reason, this isn’t my overall top fave. But if you’re looking for a good, totally clear, hydrating self tanner that you can sleep in and wake up with a beautiful tan, this is a really good option!
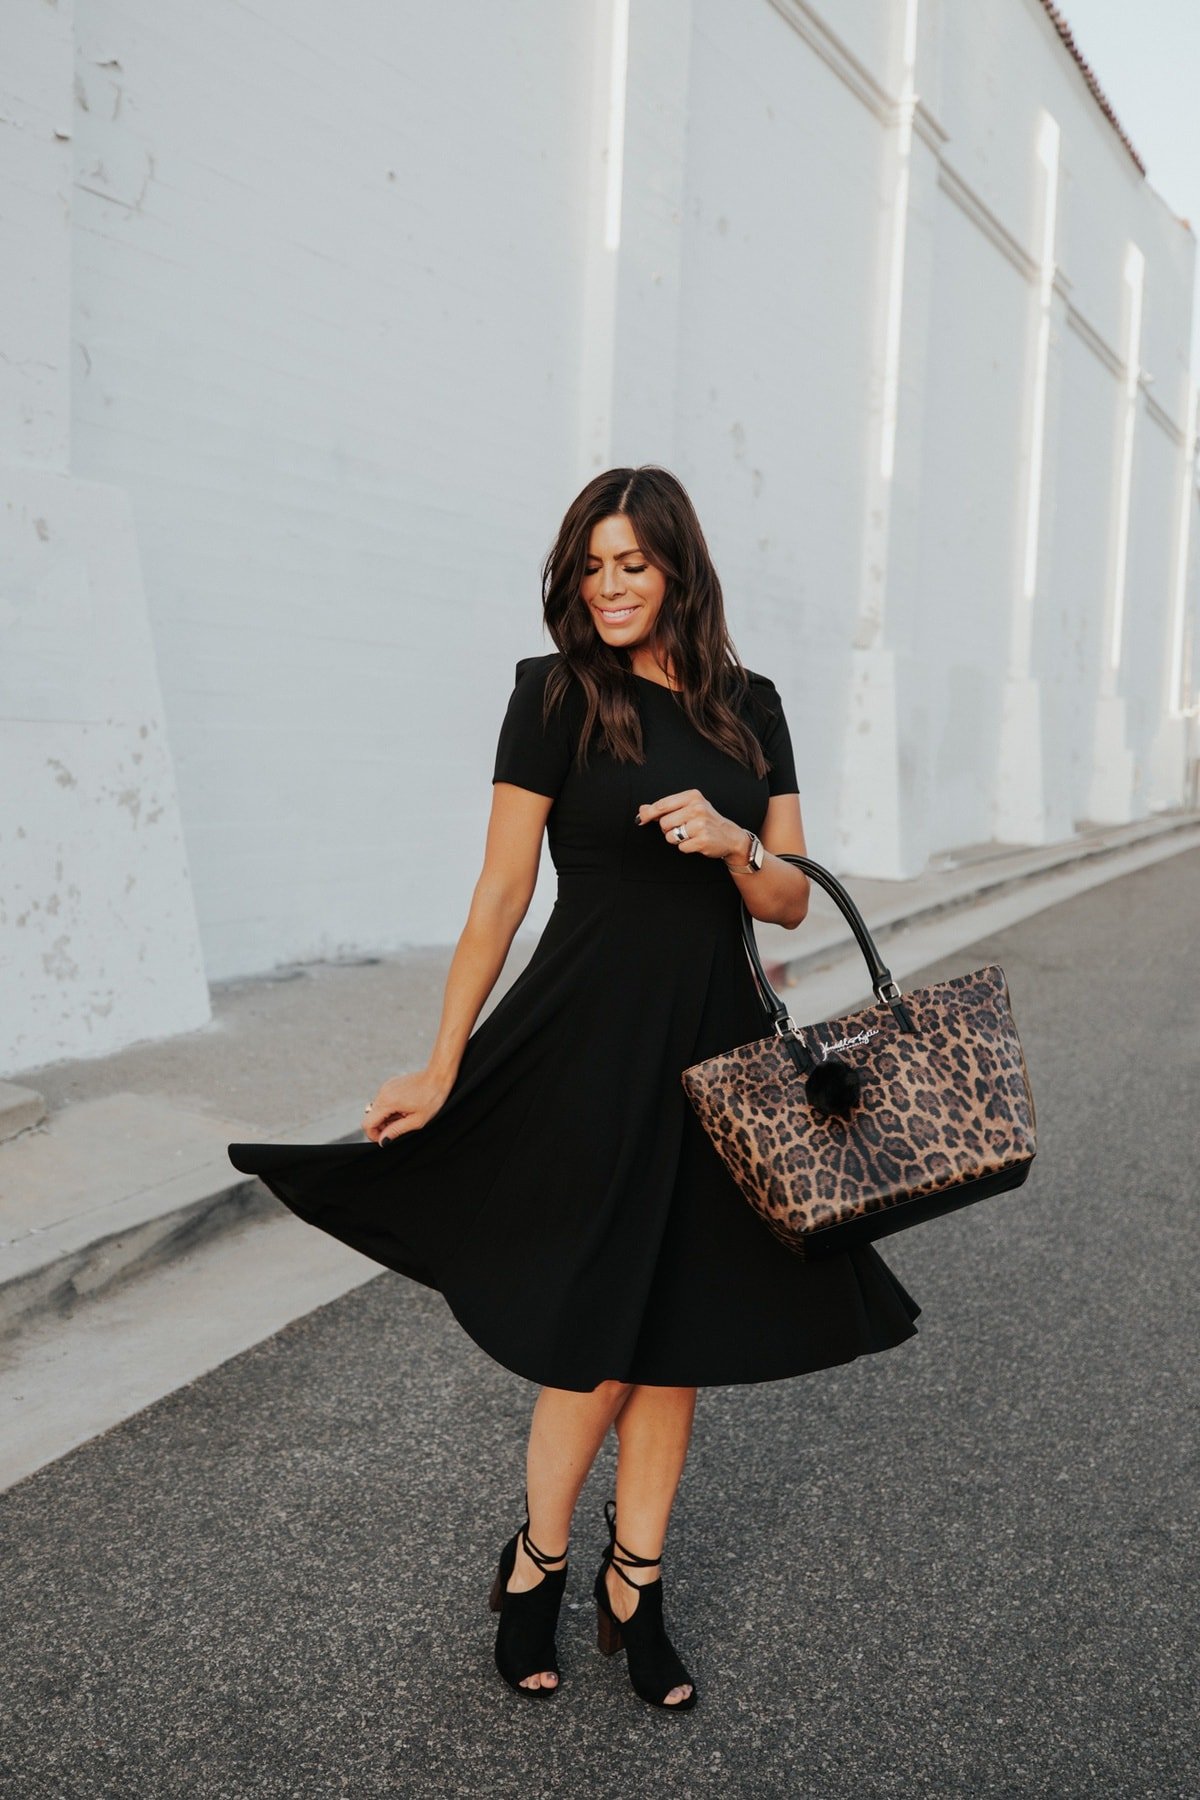
Midi Fit-& Flare Dress sold out, similar
Peep Toe Bootie sold out, similar
Leopard Top-Zip Tote sold out, similar
Photos by Arielle Levy
Lotion self tanner
This has become my new favorite lazy-girl way of doing self tanner, especially in the winter when it doesn’t have to be perfect because you’re not wearing swimsuits anywhere! I put a layer of this on right out of the shower, and then get dressed for the day. It doesn’t smell like self-tanner … in fact it smells AMAZING! It doesn’t stain my clothes. And it gives me a really pretty, even tan after just one application (but I usually do at least 2 days to get the tan I want).
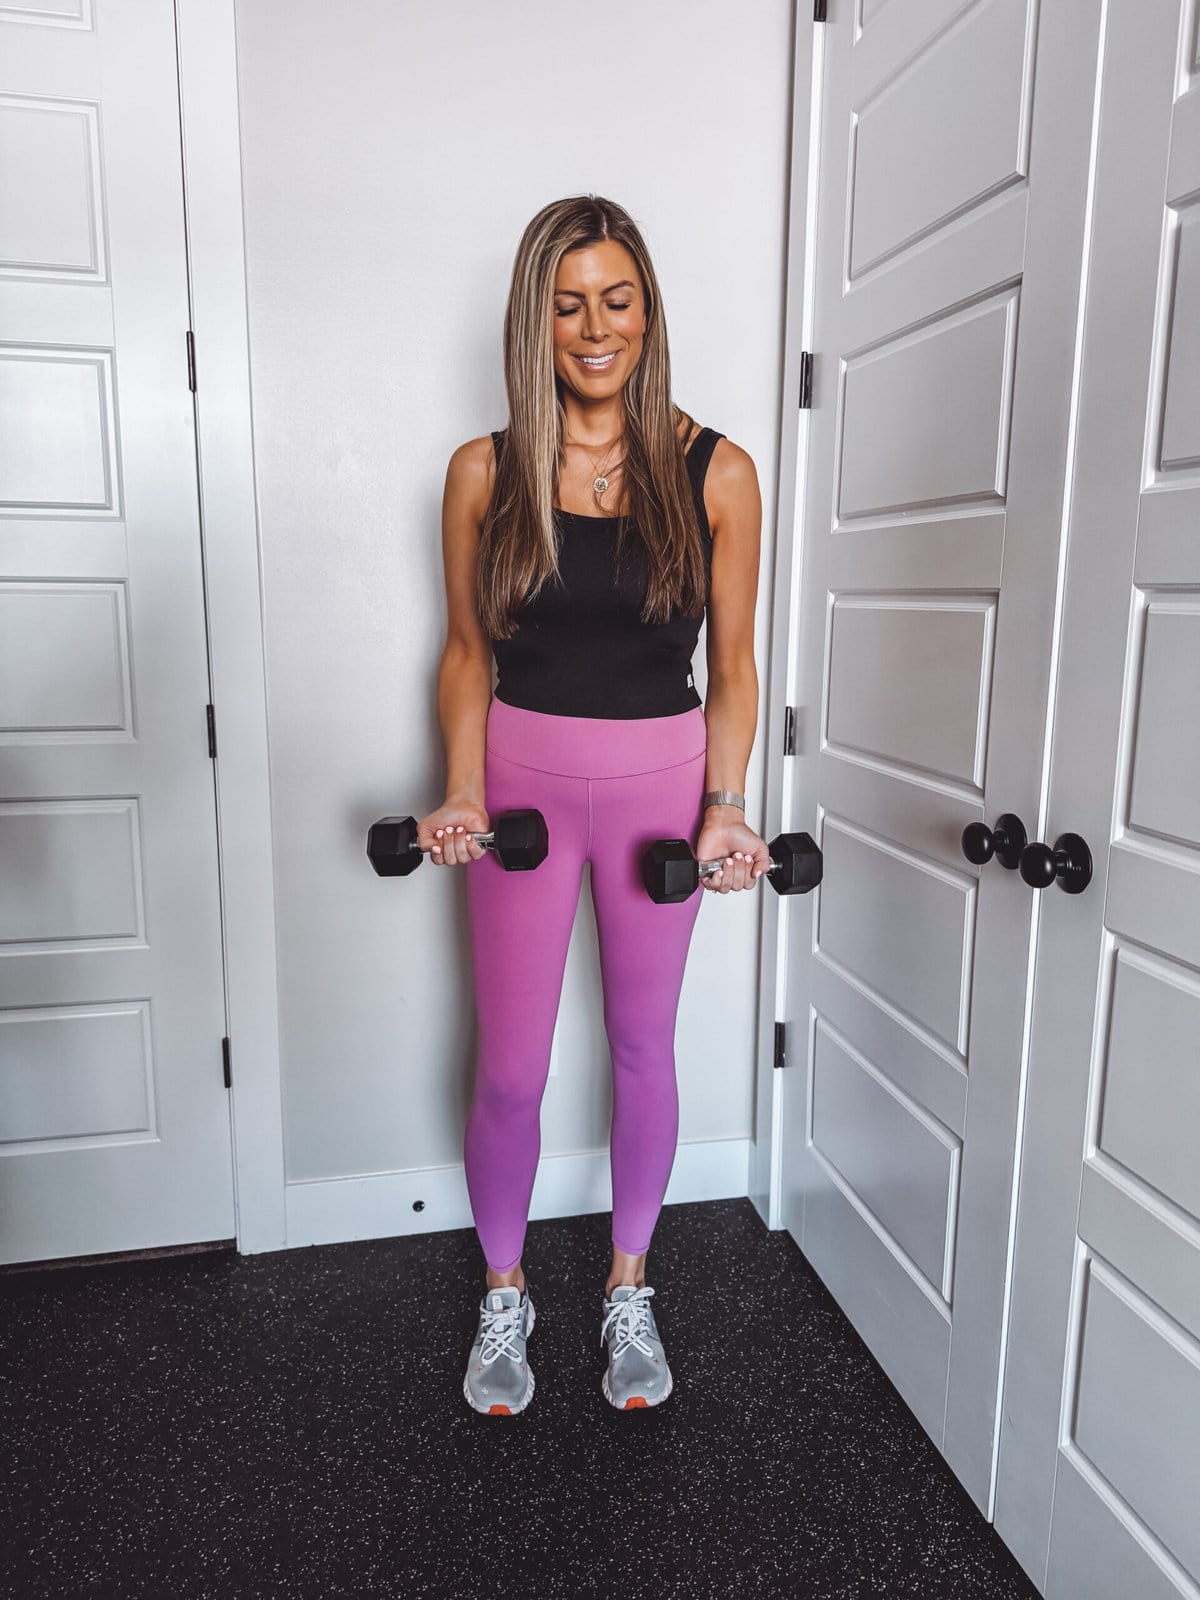
+ Lux Unfiltered N°32 ORIGINAL Gradual Self Tanning Cream used in this pic!
Tanning drops
Tanning drops are easy to mix into a moisturizer you love, they’re small and easy to store, and they’re less intimidating to apply because they mix in to lotions or moisturizers you already have.
The best tanning drops: these hyaluronic acid tanning drops are THE BEST ones I’ve tried because they DON’T dry out my skin! So many people are obsessed with these but to be honest they aren’t my favorite. They end up making the skin near my hairline flakey and dry, and then my face totally looks unevenly tanned. This may be because I have dry skin though, and another girl on our team says she loves them! So if you don’t have dry skin like I do, you might love them!

Pink Pullover sold out, similar
Nude Straw Tote sold out, similar
Photos by Arielle Levy
Tan wipes
Tan wipes are perfect for traveling since there’s ZERO chance of leaking all over your bag, super easy for beginners, and they take up almost zero space.
The best self-tan to travel with and easiest to apply: these tan towels are absolutely fool-proof, ZERO mess to travel with, and they’re formulated for body and face so you really do get everything you need in one. The only downside is, these are a little pricey. But definitely worth it if you want something that’s good for your skin AND not going to spill when you travel!
Face tanner
My fave option: THIS is my newest favorite self tanner for FACE! It’s so pretty, works in ONE application (you don’t have to gradually build it up over time like some!!) and best of all, it doesn’t dry out my face and start peeling, cracking or fading around my hairline halfway through the week like others I’ve tried. You apply it on a clean dry face, so I usually get ready for bed, exfoliate my face really good, and then spray this all over with no other product that night. I wake up the next day with an amazing glow!! Use code MINTARROW at checkout for 15% OFF your purchase HERE!
Budget friendly option: These are by far the VERY best budget-friendly self tanner drops for face, AND I actually like them even better than a lot of other more expensive brands I’ve tried. I think the key is to use a serum moisturizer either with them or under them, and NOT a thick or heavy cream. I’ve just found that a nighttime serum (like this one) works so much better with these tanning drops!
Step 4: Stay dry, then just RINSE
You don’t want to shower or get wet for at least 2-3 hours with a quick-developing self tanner and 6-8 hours after applying a normal self tanner. 24 hours is even better! This includes dishes, bathing littles, or doing a really sweaty workout. Just Say No! A lot of times for me with 5 little kids the most practical way for me to pull this off is to do my spray tan right after the kids go to bed, and then wake up and shower it off the next morning.

Dust a little powder like an inexpensive makeup setting powder or (my fave!) mineral based makeup on your face and anywhere where you feel a little sticky. This will allow your tan to set in without sticking together or rubbing off where you want it to really stay and develop. When I get a spray tan during the day and have the rest of the day ahead of me, I use this mineral makeup and it works beautifully. NO LIQUID MAKEUP while your spray tan develops!! Trust me.
REMEMBER: your tan will continue to develop after you shower (yes – you read that right!) so professional spray tan gurus will tell you to not use soap that first shower after your tan, including avoiding shampoo because any soap or shampoo will wash off the still developing tan. So that first shower is really just a RINSE! If you’re dying over this idea, you can apply a little soap to just “private” areas so you feel all clean for the day (this is what I usually do).
TIP: If you’re worried about a tan rubbing off on your sheets or linens, you want to apply at least an hour before bed if possible, so it has some time to set in. I can apply this self tanner, let it “dry” for about 30 mins, then hop into bed and my bed sheets are fine the next morning!
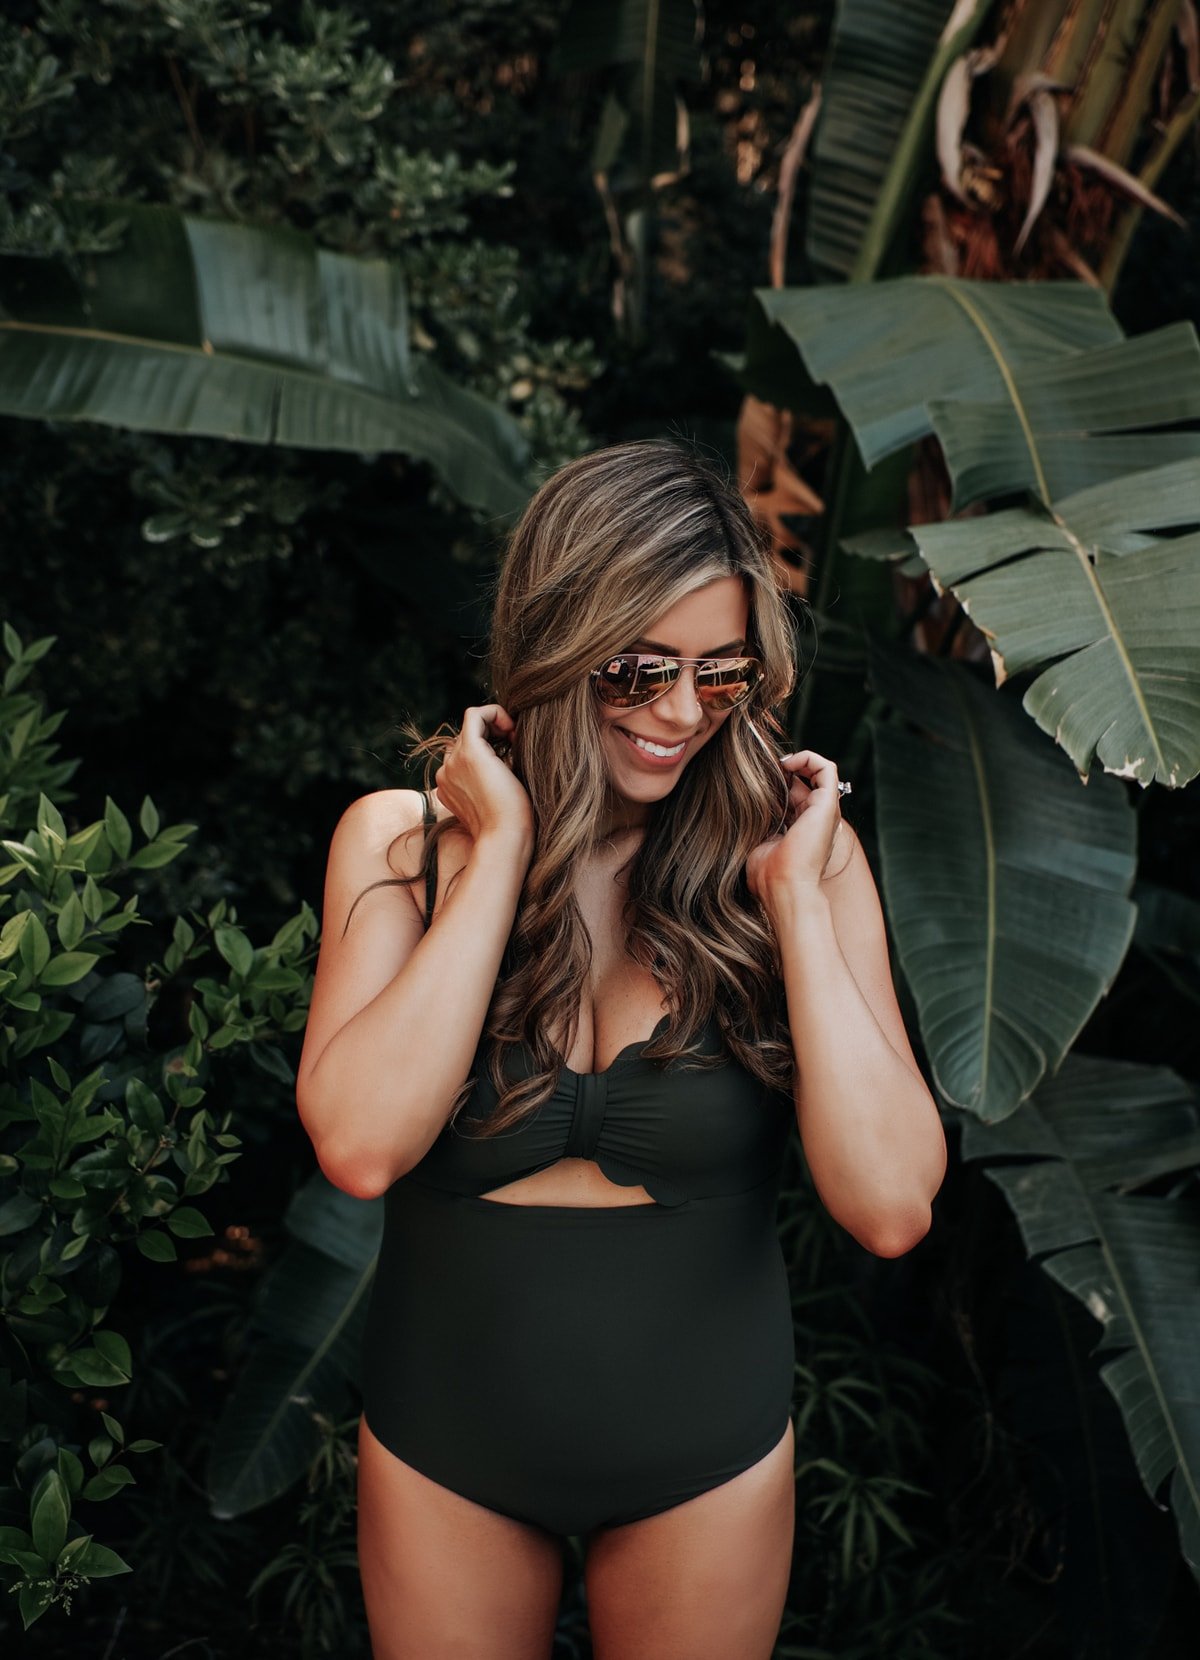
Scallop One-Piece sold out, similar scalloped
Pink Sunglasses
Photos by Arielle Levy
Step 5: Moisturize
Moisturize like crazy! Once you’ve showered it’s all about extending that gorgeous tan. Honestly any basic moisturizer will help, so you can likely use whatever you have lying around at home. If you’re looking to #treatyoself…this Brazilian bum bum cream is insanely amazing. I also really try to cleanse with moisturizing soaps, body washes and face washes after my self tanners or spray tan because anything with the word “exfoliating” in the description will strip your beautiful self tan right off!
Step 6: Maintain
PRO TIP for making your face stay tan: ALL of the favorite self-tanners and spray tans I listed above I’ve used on my face just fine, but you’ll probably notice the tan on your face fading faster than the rest of your body. I really like to use these tanning facial drops as needed to keep my face tan fresh throughout the week. If my moisturizing game is on point, I can typically make my tan last a week before I’m ready to do it again!
FAQs
- Does the self tanner you use fade evenly? YES! All the faves I recommended above fade pretty evenly, but I would say the MOST evenly faded are any of the LovingTan products.
- What do you do when the self tanner starts to flake off? At about day 6-7, when I notice it’s fading or flaking a little, I bathe, exfoliate, and repeat the whole process!
- How do you get your knees, feet, and elbows to not be blotchy or streaky? MOISTURIZE just those areas before applying self tanner!
- What’s the easiest way to remove it so you can get a fresh layer on? See exfoliating tips above, but seriously don’t skip that 20 minute bath to get your skin ready before exfoliation.
- How do you apply evenly? Make sure you use a good mitt with a foam for the most even and perfect application!
- Do you use a different shade of foundation when you have self tanner on? I do, yes! But I like my skin tone SO much better with a little self tanner so if my skin starts to not match my makeup, instead of using my backup lighter makeup shade, I’d rather just self-tan again.
- Face tanning seems scary. How do you keep it tan every day after washing every night? See my tips above for maintaining a tan on your face throughout the week!
- What is the best way to apply to face and neck? Do you use a different type of self tanner? All of the fave self tanners I mentioned above I’ve used on my face just fine, but again, this is my absolute fave for my face! For the foams, I prefer to use a makeup brush (like the kind you’d use to put on foundation) to apply to my face and neck!
- Which self tanner is best? Which have you tried and love? See my guide above of all the best!
- How do I look tan but not like an oompa loompa? Does it transfer easily? None of my faves that I listed have an orange look, but some do transfer more easily than others to white sheets or clothes. HOWEVER, even the couple that do transfer a little end up washing out super easily after.
- Which tanners will not transfer to white sheets or clothing? This foam and this lotion are best for zero transfer. Just remember, there’s more room for error with the clear ones because you can’t tell as easily if you miss a spot!
- Is self-tanning safe during pregnancy? Always consult your own doctor first! My doctors in the past have told me self tanner is fine during pregnancy though.
- Most long lasting self tanner? How long does it last? My spray tans definitely last the longest, 7 days for sure and 10 days if I’m really lucky and not taking as many baths, keeping my skin super hydrated, etc!
- How often do you apply your self tanner? Usually every 7-10 days…if I go more than like 2 weeks I start to feel like a ghost.
- How long does it take to apply? Spray tans are my fave for this reason: 2-3 minutes (literally). Foams, tan wipes or lotion: 15-20 mins to do a really thorough job.
- How to perfect the hands and fingers? First of all, dilute by using a non-tanning lotion on hands/fingers/wrists. Second of all, I usually pump a foam onto the mitt and apply all over my arm and use kind of the “leftovers” on my fingers and wrists if that makes sense! Not a strong full pump. I also will wipe any of the self tanner that got on the INSIDE of my hands off, with a makeup wipe. Lastly, I usually wash my hands 30 mins – 1 hour after so that I do have SOME tan on my skin, but it doesn’t over-develop.
- Do all self tanners smell gross? Are there any that don’t smell? Yes! All the favorite self tanners I suggested above have mild smells (IMO!) but smell is so personal, you might have to try out a couple before you find YOUR fave.
- How do you pick the right color? If you like the look you have right after a vacation when you’ve been in the sun a lot, you’ll like this foam. If you have more cool tones, (or want!) more of an olive skin look, you’ll probably like this one best!
- Does it make you break out on your face? None of the faves in this post have ever made my face break out.
- Is self tanner safe while nursing? Again, consult with your own doctor with any questions, but yes I do spray tan and self tan while nursing because my past doctors told me it was fine. My best tip is to WEAR A BRA that covers the entire area where you’ll be breastfeeding so you don’t even apply or spray there, and then take that bra off immediately and throw it in the wash! I usually spray or apply a quick-developing self tanner right after a feeding session so I can shower before I need to feed baby again.
- How do you shave your legs during the week without removing your tan? I really don’t worry too much about this, but also (poor Neil ha) I don’t shave my legs every day, more like every 3ish days.
Black One-Piece sold out, similar
Black Sunglasses sold out, similar
Black Tote
How to remove your self tanner
I’m an avid self-tanner, so you can usually find me with some spotty residue from a previous tan. I’d heard such glowing reviews about this Isle of Paradise Over It Magic Self Tan Eraser and it totally lived up to the hype! I seriously couldn’t believe how well it worked. The blend of glycolic acid with moisture-rich ingredients literally erases your leftover self tanner (just as it says, LIKE MAGIC!!).
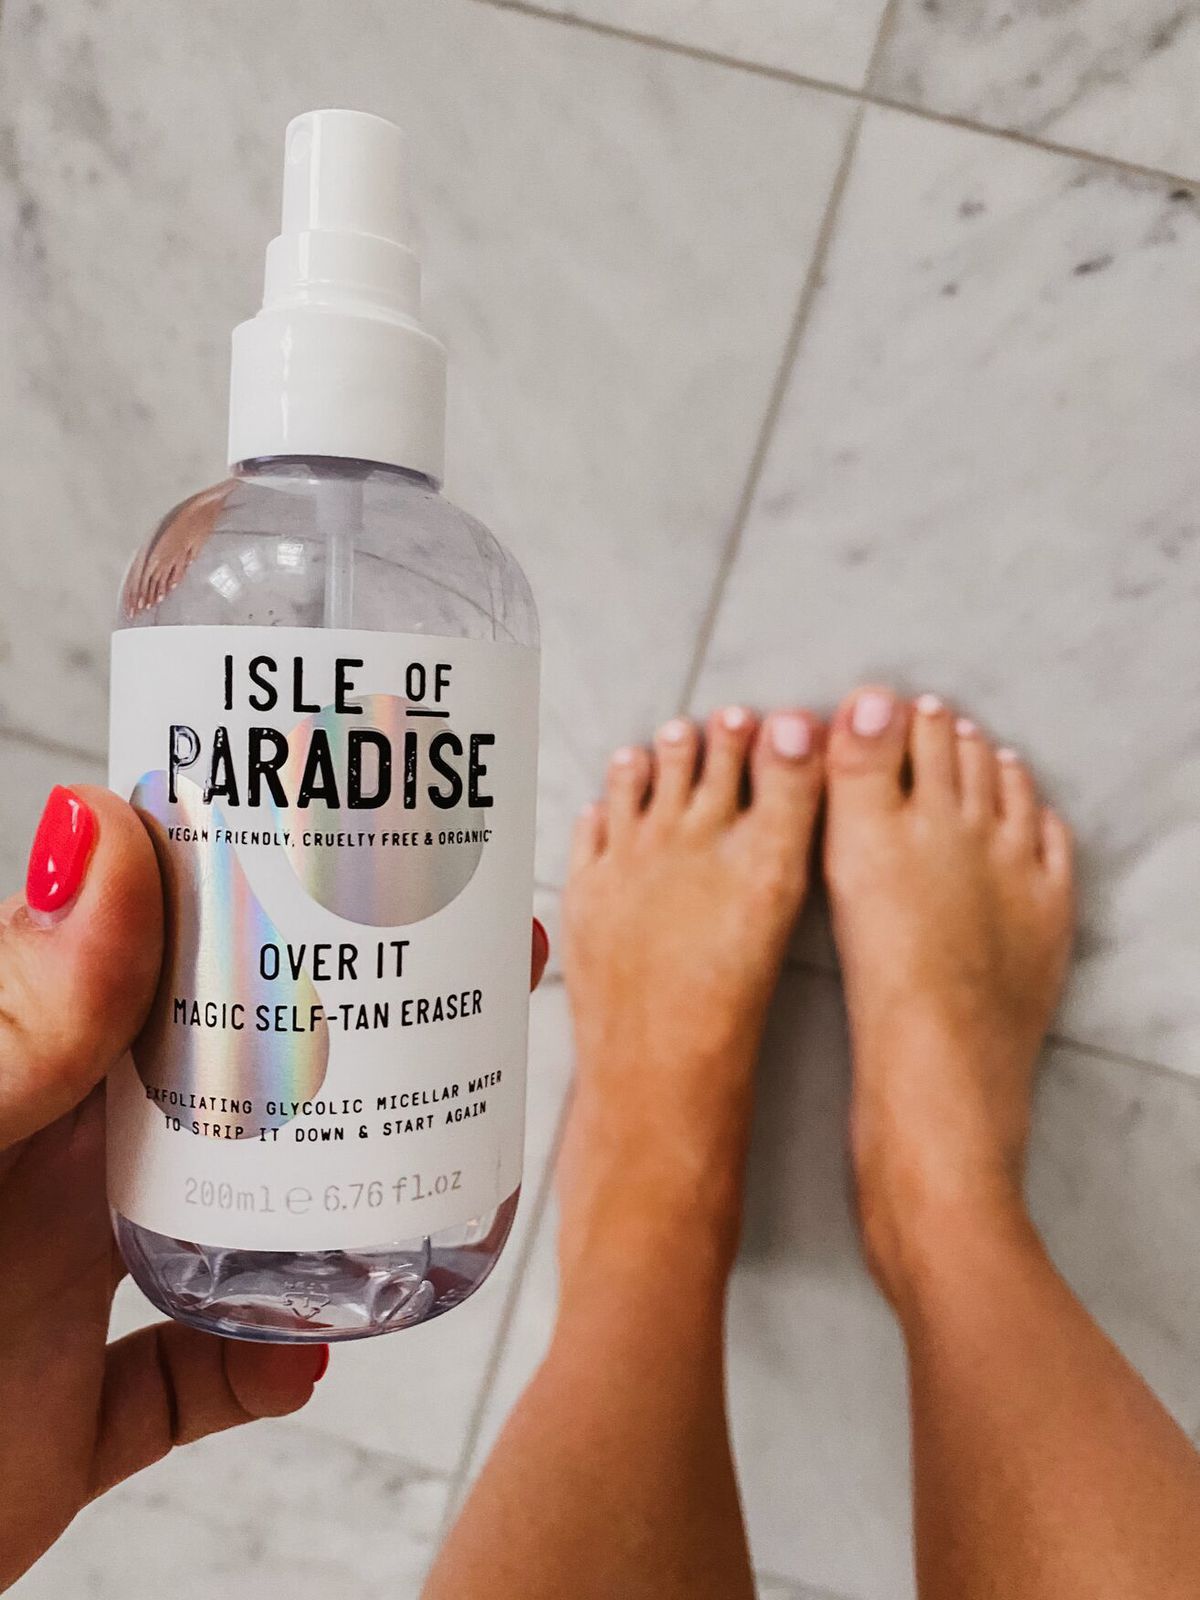
All you have to do is spray this on your skin with the magical elixir (I stepped in the shower for this part so it didn’t get everywhere), lather, and leave on for 5 minutes. Then I jumped in the shower and exfoliated as usual and could NOT believe just how much easier my old self-tanner melted right off! Seriously, one round of this and your skin is glowing and splotch-free!
Before…
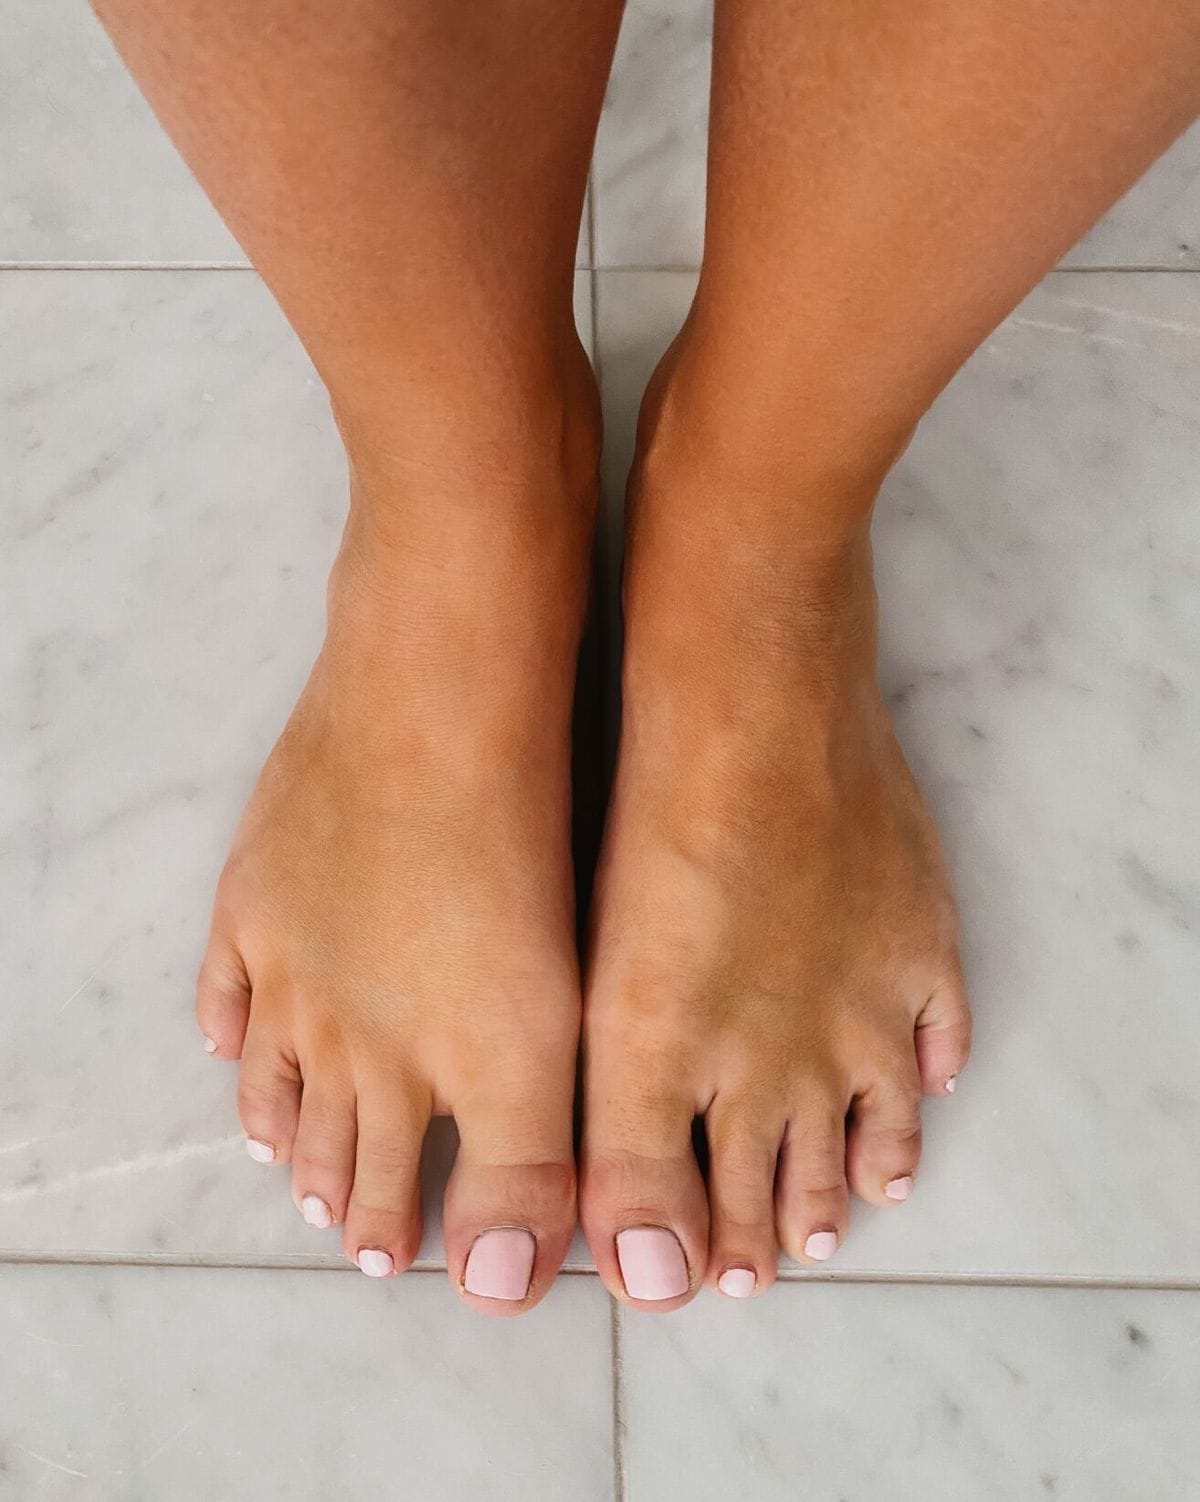
After…
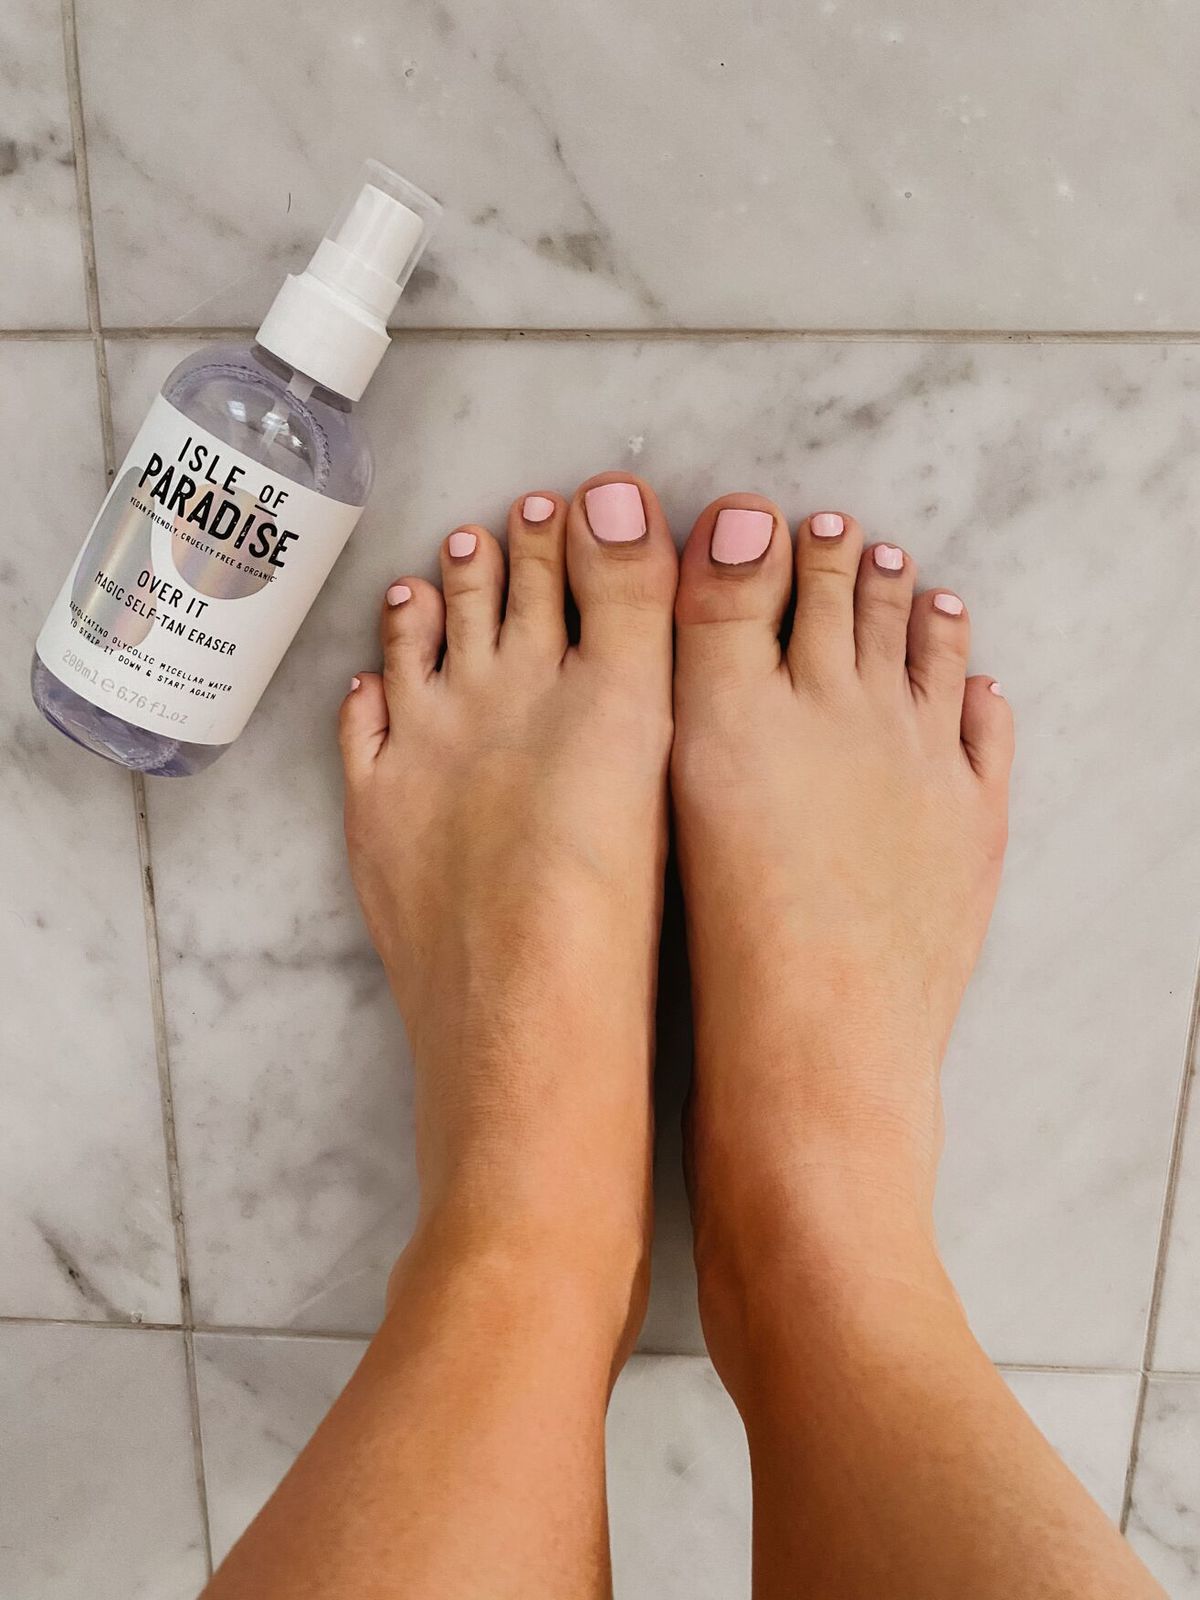
You want to make sure to wait about 3-5 days after the initial tanning application in order for the Isle of Paradise Self Tan Eraser to work properly. Your self tanner isn’t ready to be removed after 24 hours, but once your skin starts to self exfoliate, this product REALLY helps with the final removal process. You can see in these before and after pictures that my lingering self tanner was cleanly removed only to show my natural tan (courtesy of Hawaii).
Here comes the (faux) sun
I hope this full guide helped you find some new products to try, or at least tips to applying self tanner for your best faux-tan life! I feel like if you practice just a few times, you’ll be amazed how you get better and better with time at applying and knowing how your skin reacts and seeing the difference of utilizing some of these tips like good moisture maintenance and proper exfoliation. Don’t forget to use code 15LTK for 15% OFF our fave self tanner mousse HERE– but this deal only goes until 5/19 so shop fast! Happy self tanning, and let me know if you have any further questions or tips you want to share with me, too! I always love a good self tanner topic of convo.




What sunscreens are best for fake tans?? I know some rub them off !
Hey Jessica! Corrine’s not exactly sure which ones are best specifically for prolonging spray tans, but she used this sunscreen in Hawaii on their last trip the whole time and her tan lasted super well! 🙂 -Kourtney
Fab tips and suggestions! You look amazing in that LBD!
xoxo
Lovely
http://www.mynameislovely.com