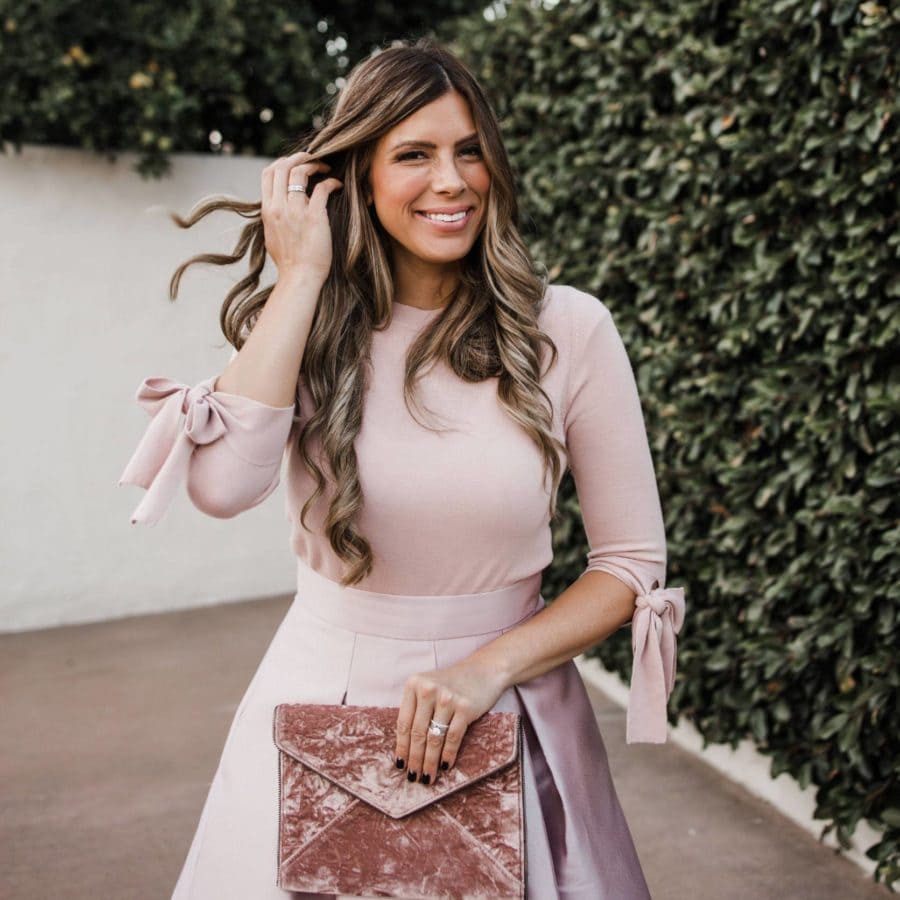
Heatless curlers are nothing new, BUT the latest curl technique that I’m about to share with you deserves all the rage! The heatless curls trend has exploded all over social media, and after seeing a lot of tutorials, I’ve been dying to try it out for myself. So with very low expectations I bought a kit and I’m so excited to share the end results plus all of my personal tips and tricks to getting the best results!
This technique worked SUPER well, even better than I had expected! It's seriously the easiest way to get perfect curls (especially if you have long hair or thick hair!), and you skip out on any unnecessary heat damage. It's a great inexpensive option to create beautifully curled hair and the best part is it's not time consuming at all! Huge win.
How to get perfect, heatless curls:
- Wash your hair and let it air dry until you have about halfway dry hair – it won’t work if you have sopping wet hair. Millie took a shower and we waited for about an hour until her hair was halfway dry, I brushed through it and started wrapping.
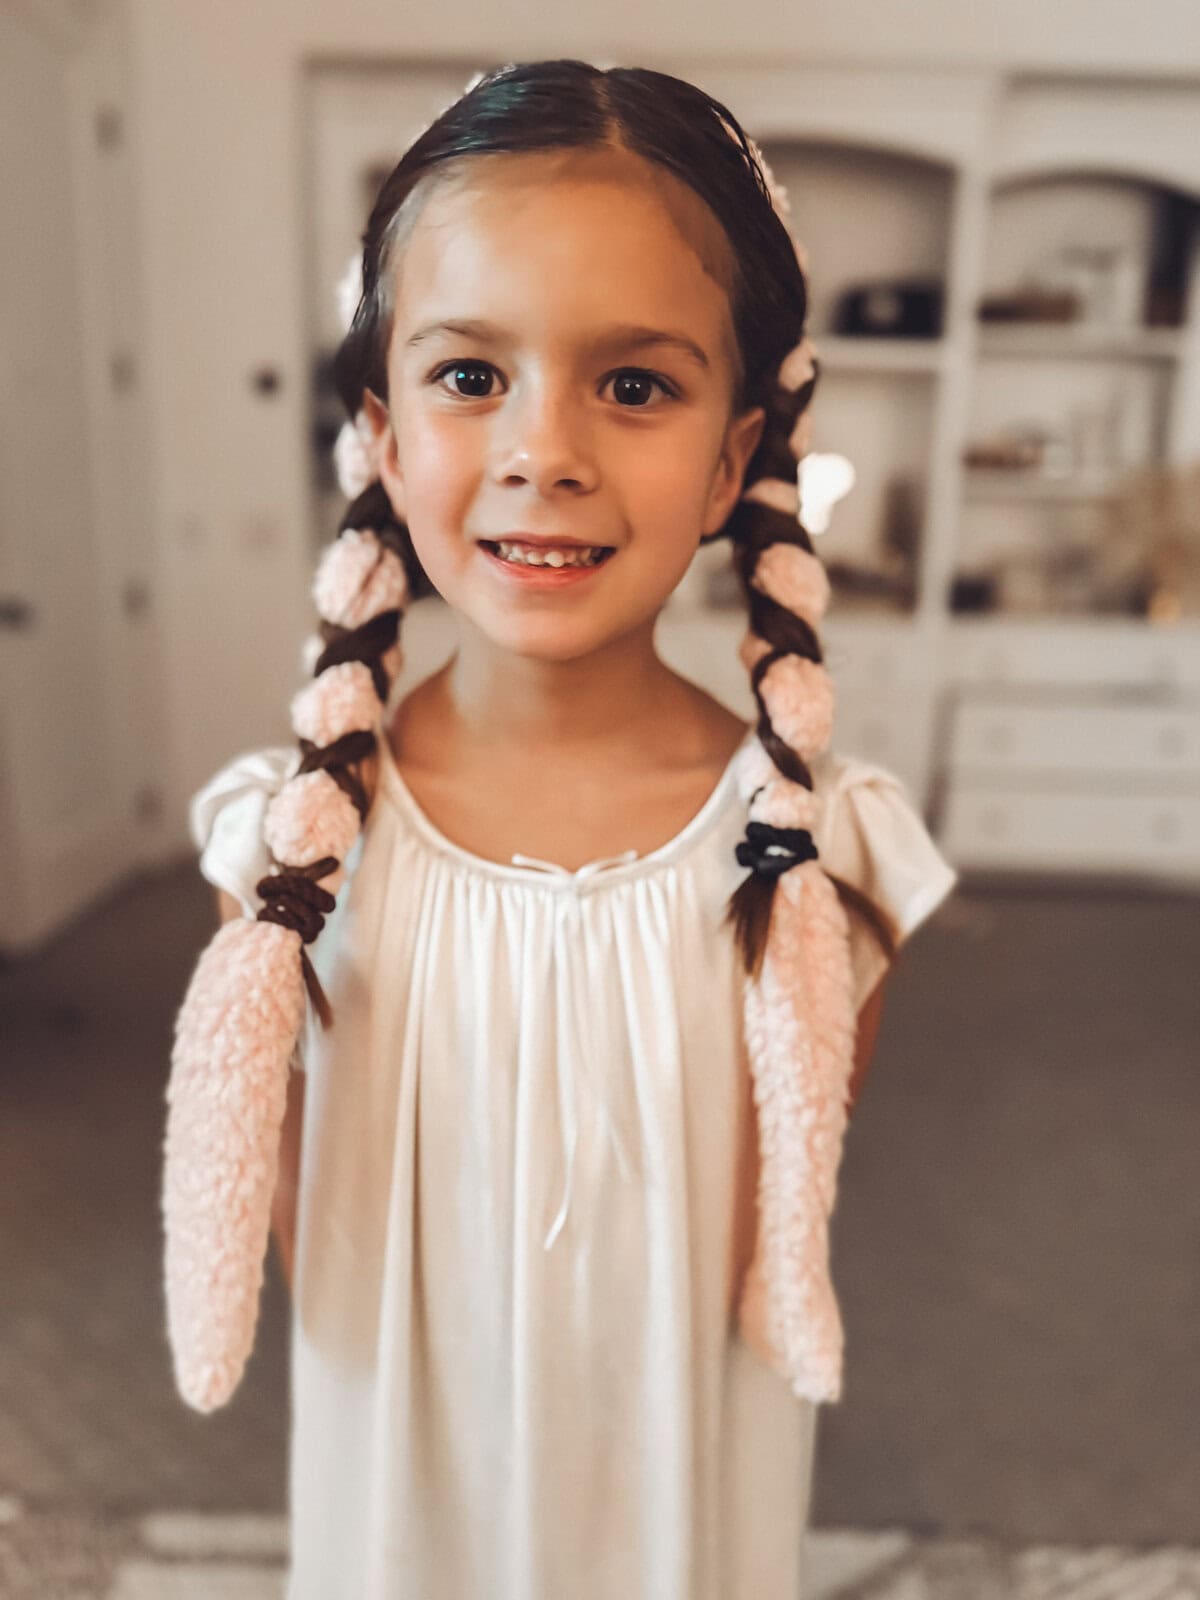
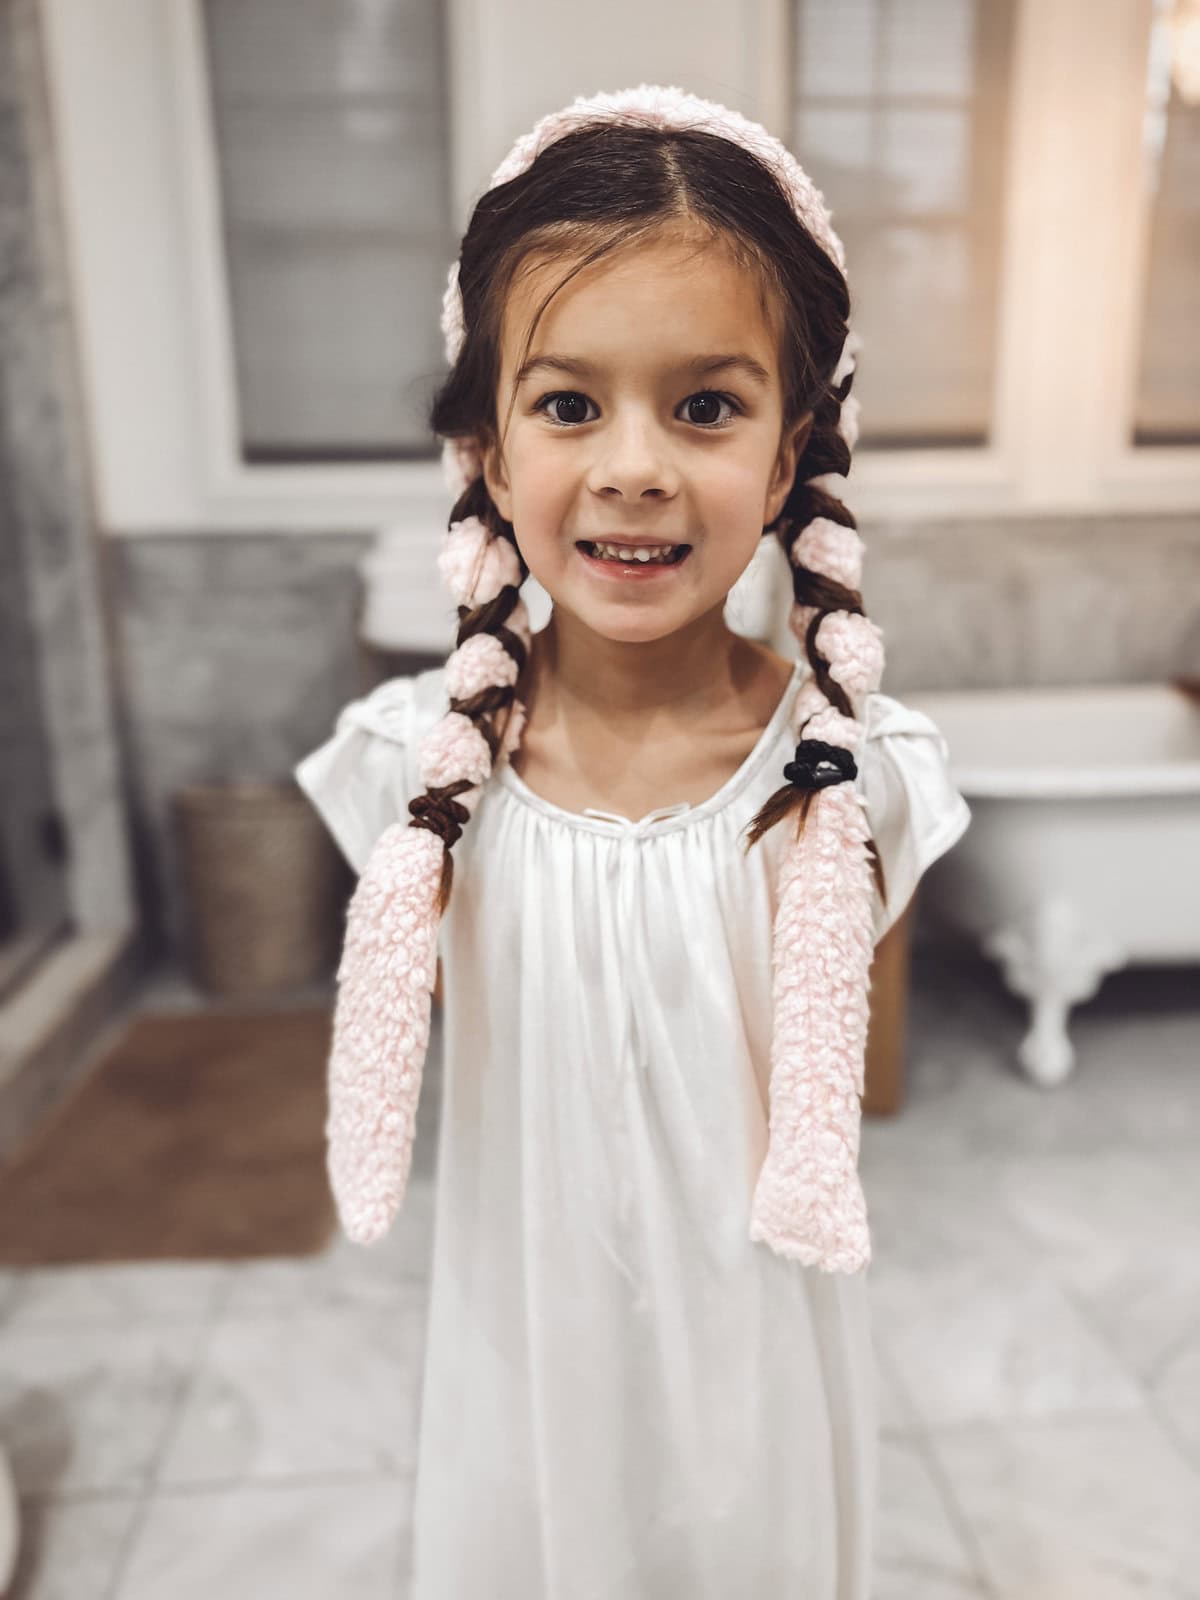
- Grab a section of hair, and wrap away from the face (using your heatless curler headband on top of your head) and make sure the hair isn’t clumped as it twists. Hair that's laid flat and smooth wrapped around the heatless hair curler will result in prettier, cleaner curls!
- After you're done wrapping your hair, use scrunchies or clips to keep your hair in place. I'd say that’s one of my major key tips for best results is to make sure the ends of your hair lay flat or come out of the scrunchie so the pieces don’t get crumpled. Worst case scenario you can just use a flat iron to flatten out your end pieces, but that’s kind of the point – to not use heat to prevent breakage!
- Damp hair! It’s so important that your hair is damp during this heatless curls process, so if you have a hair strand that gets too dry while wrapping your hair, you can take a spray bottle and dampen it. Even a little bit of hairspray gel will work great to keep the curls in place!
- Sleep on it! Millie slept on it and she slept just fine. Another one of my daughters, Anabelle, tried it and said it was really uncomfortable so it’s probably just how sensitive you are. It was a total throwback for me to when I used to sleep in my pink sponge hair rollers that my mom used to have me wear! Except these are wayyyy easier and less time consuming, and Millie slept great in them.
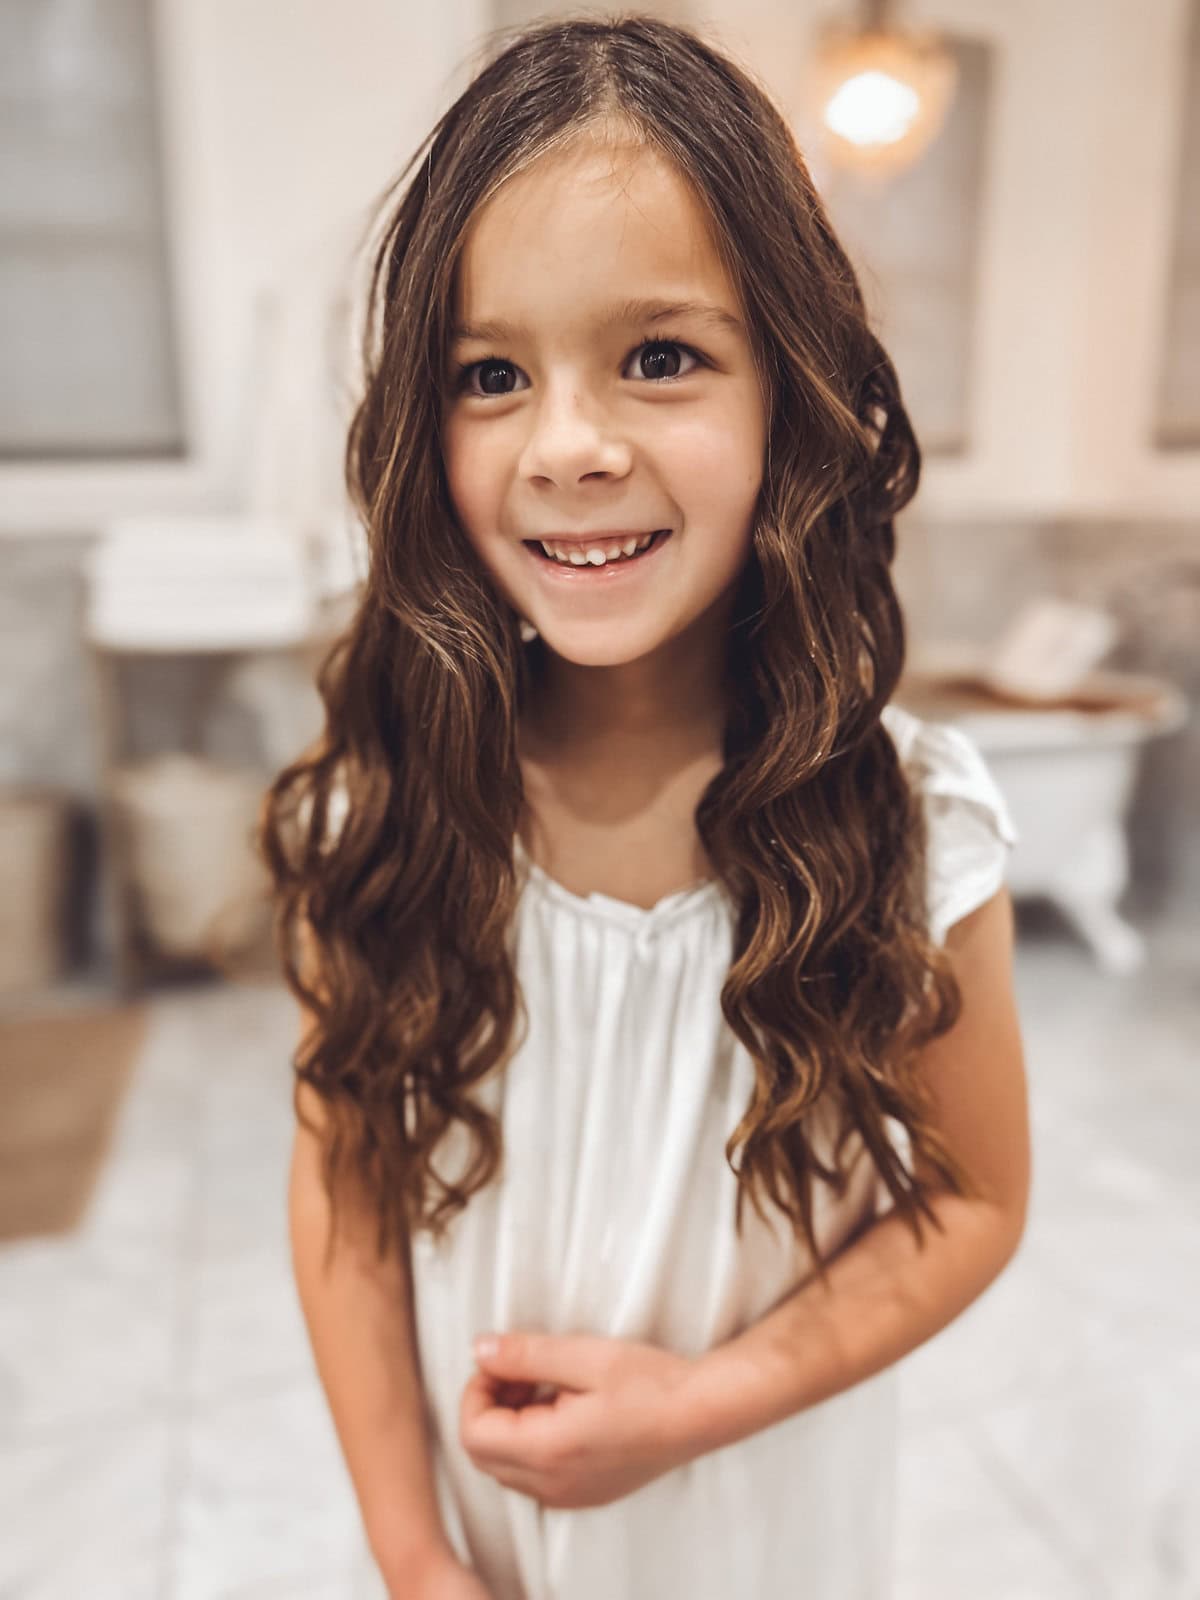
- Wake up and remove the curling ribbon! Don't comb through the bouncy curls! I think if you brush through them they’ll go loose a lot quicker. Millie's curls held up very well throughout the day with a little hair spray and got more relaxed by the end of the day for sure to where it looked more like a looser beach waves hairstyle, but it worked beautifully!

What to buy for heatless curls:
Are you dying to try this heatless curl technique now, too?! It's such a quick, easy and beautiful way to create curls AND no heat is required.
With all the rage right now, there are so many different kinds of rollers to buy, but here's the fave I used on our girls' hair and loved it! Use code MINTARROW for 10% OFF.

Hair done overnight!
Overall, this hair roller worked really well. It’s something that'll save you time, and it’ll keep your hair from having to go through a torture chamber of a curling iron or a flat iron every day. If you try it out, let me know what you think and how it worked with your hair!
And if you're looking for really good hair tools that DO use heat, you can check out the very best ones here!


