So once upon a time, a dad in this house took his little girls to Costco, “just for the essentials.” He came back with all the things on my list: eggs, bread, milk, you know. And then casually showed up with a playhouse too! Ha. He blamed it on the girls, but I'm pretty sure he was even more excited about it. The next thing I knew we had a playhouse assembled in our playroom upstairs. I kind of felt like it wasn't quite right for the space but didn't know what else to do with it because our girls LOVED it!
In this post we are sharing how we went from a dark brown playhouse I didn't love, to a modern white playhouse my girls play in daily!
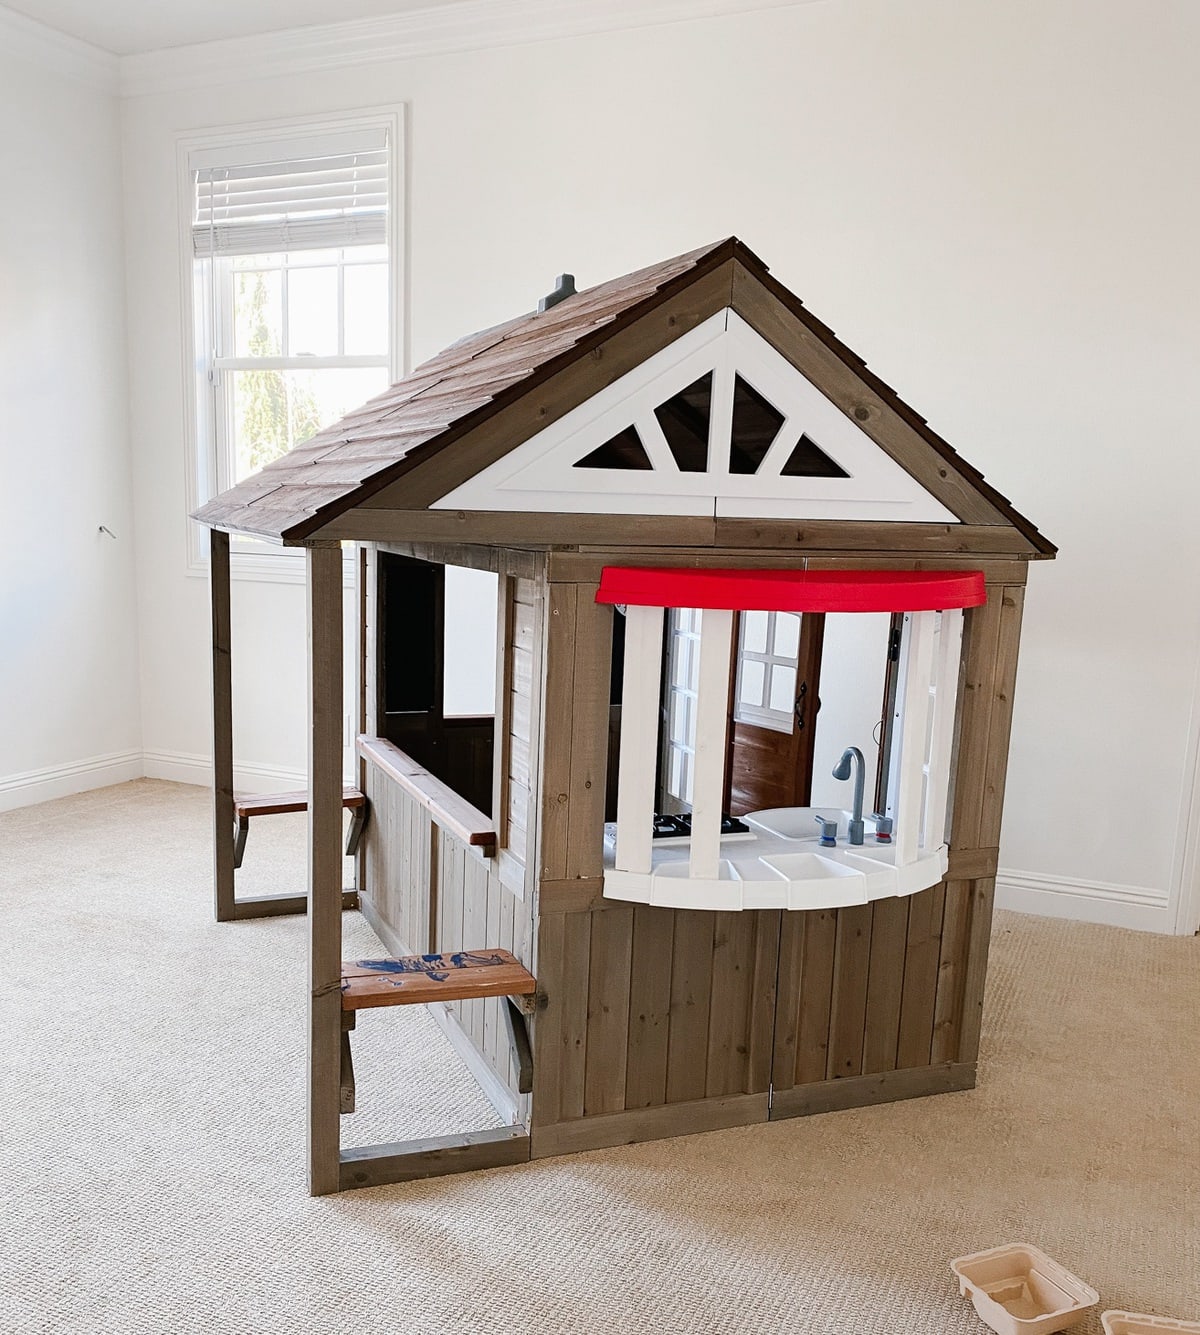
Before…
Remember the playroom, before our big makeover? I really wanted to play with a white on white theme for the room, so the old-school, dark brown playhouse HAD to go too.
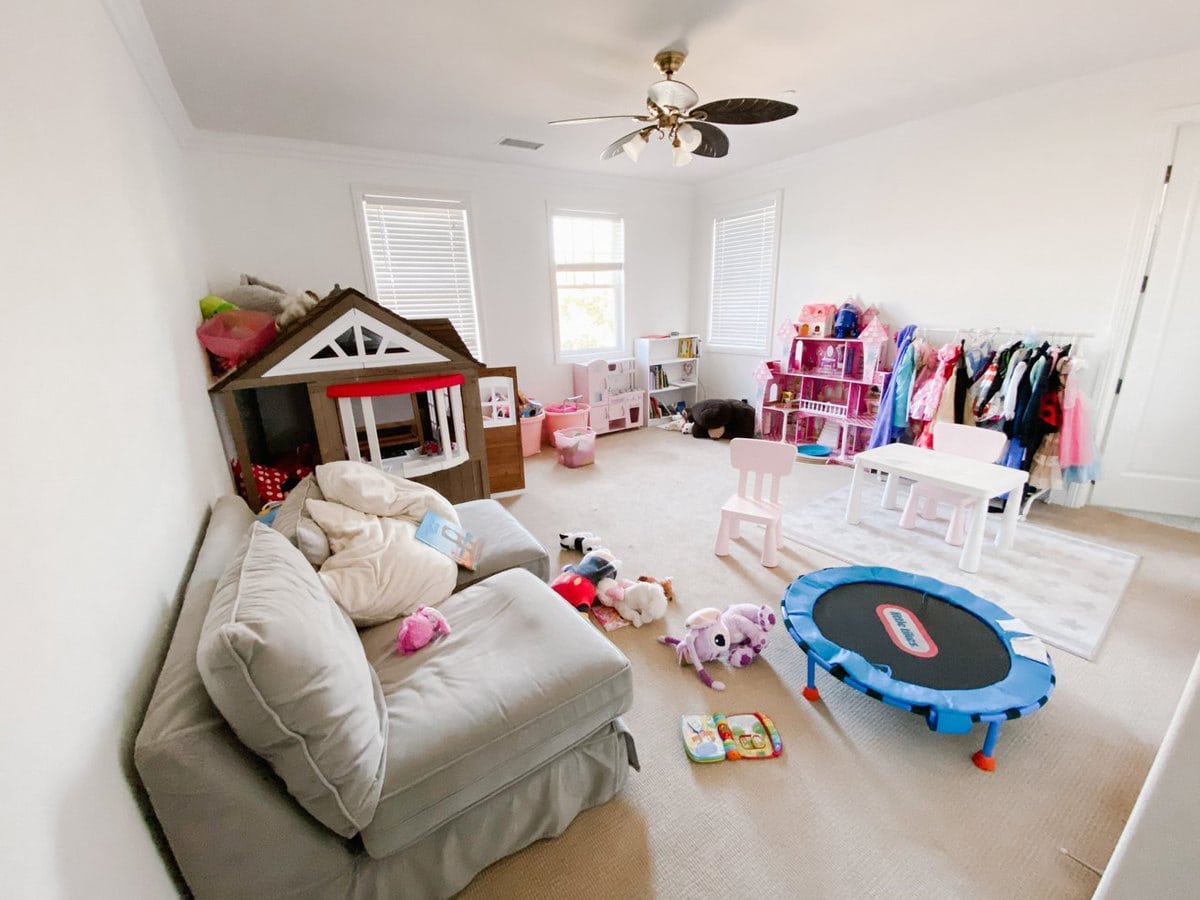
A modern makeover
Break it down
We had to deconstruct the playhouse a bit before going for the paint job. First, Neil took off the roof so that our girls (yes, they helped too!) could actually get into the nooks and crannies of the space! Pro tip: put all the screws and parts into labeled ziplock bags so that when you try to put it back together it's not a guessing game!
Easy peasy paint
We ended up going with white chalk paint because it's a primer and paint in one. Less steps = happy parents. You literally don't even have to sand first when you use chalk paint! We took all the hardware off too so we could do something a little more modern. Budget saving tip: instead of buying new hardware, simply spray painted the original hardware. We spray painted ours gold. It was a super quick and cheap fix that made a huge difference. I recommend doing at least two coats of the spray paint to ensure a solid coating.
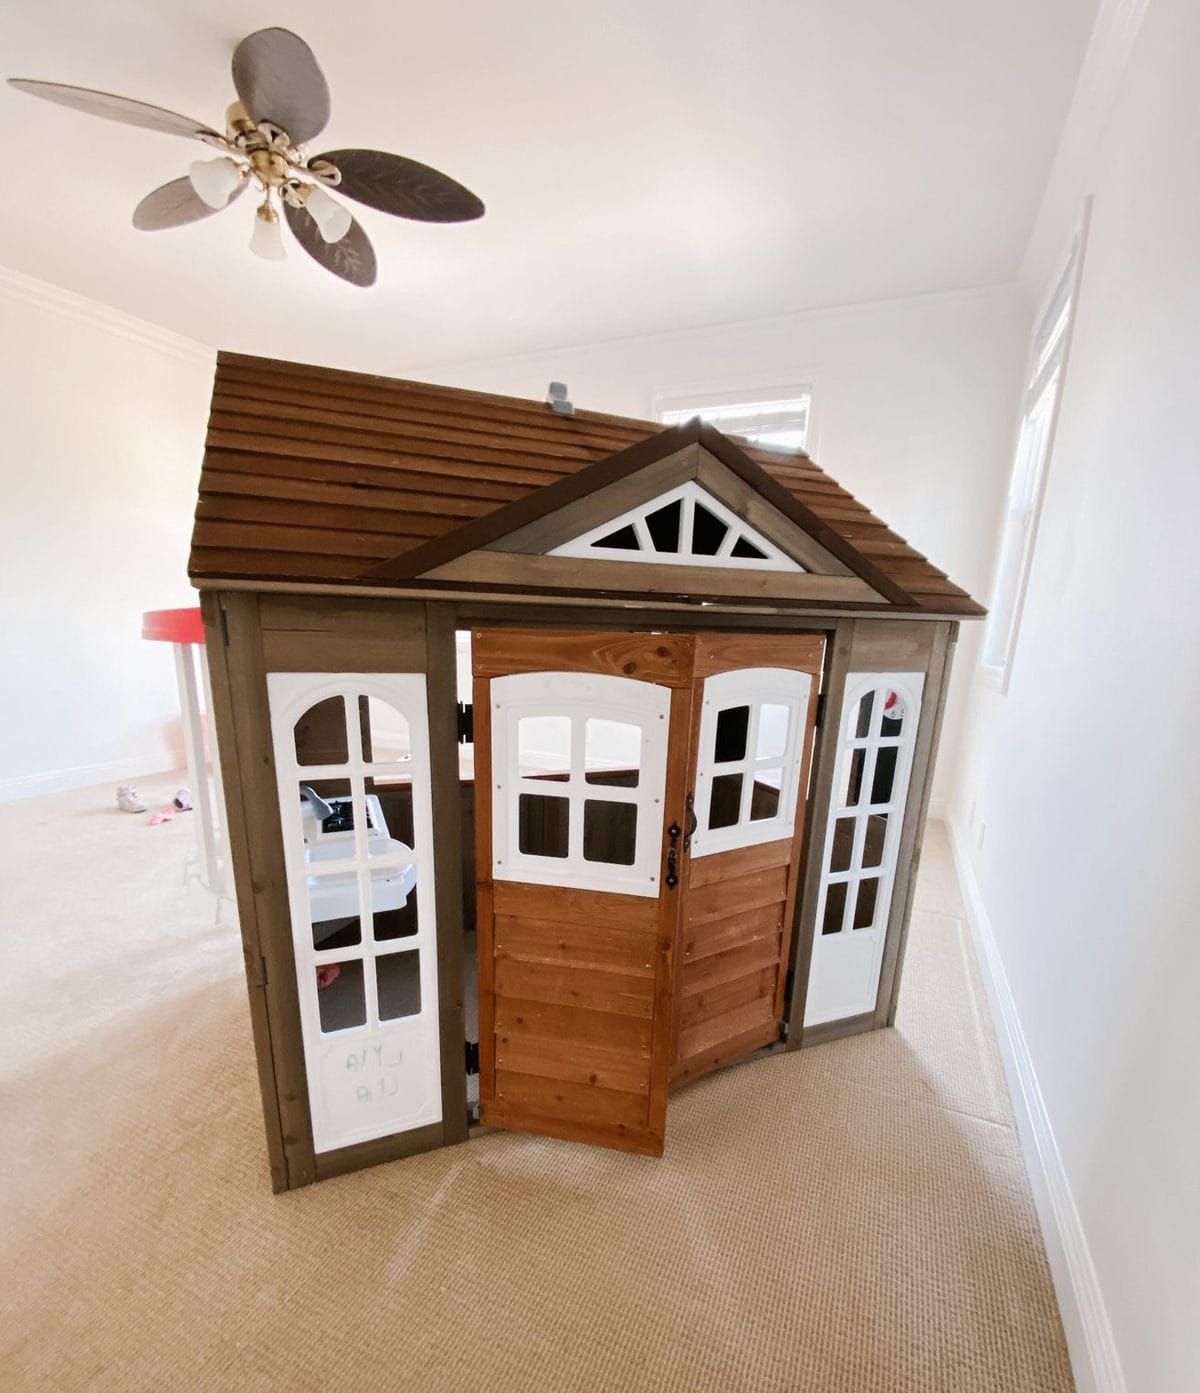
No mess, less stress
We utilized canvas drop cloths from Home Depot to catch most of the paint splatter. The canvas ones are better than the plastic drop cloths because they don't move around as much! Another thing we did, that helped a TON, was starting the playhouse makeover BEFORE replacing the flooring in the playroom. This turned out to be a stroke of genius, if I do say so myself! The girls could help paint to their heart's content without my anxiety ruining the fun moment with them. They could drip on the carpet all they wanted and we just ripped it out afterwards!
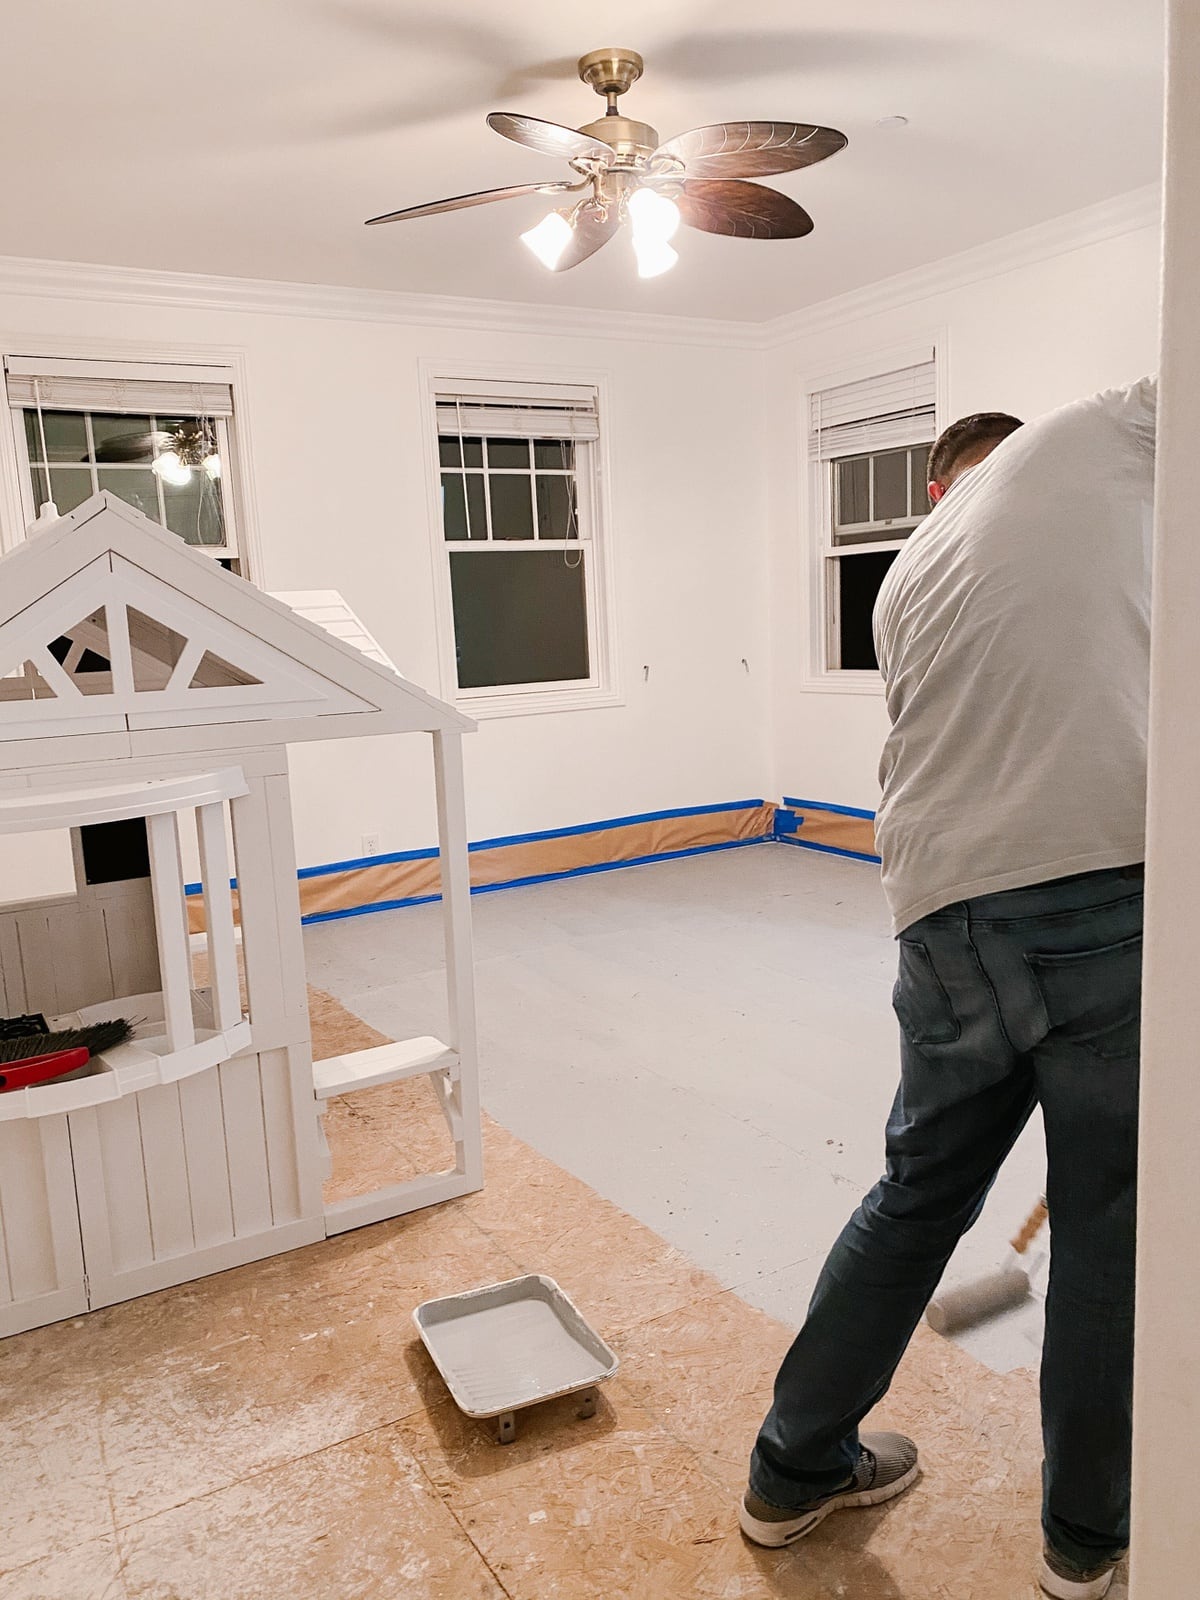
White on white
We only had to paint the wood parts of the house, leaving the existing white plastic as it was! Work smarter, not harder my friends. When it came to painting the red plastic siding, we did use a spray paint (same brand as the regular paint!) to spray the red plastic white.
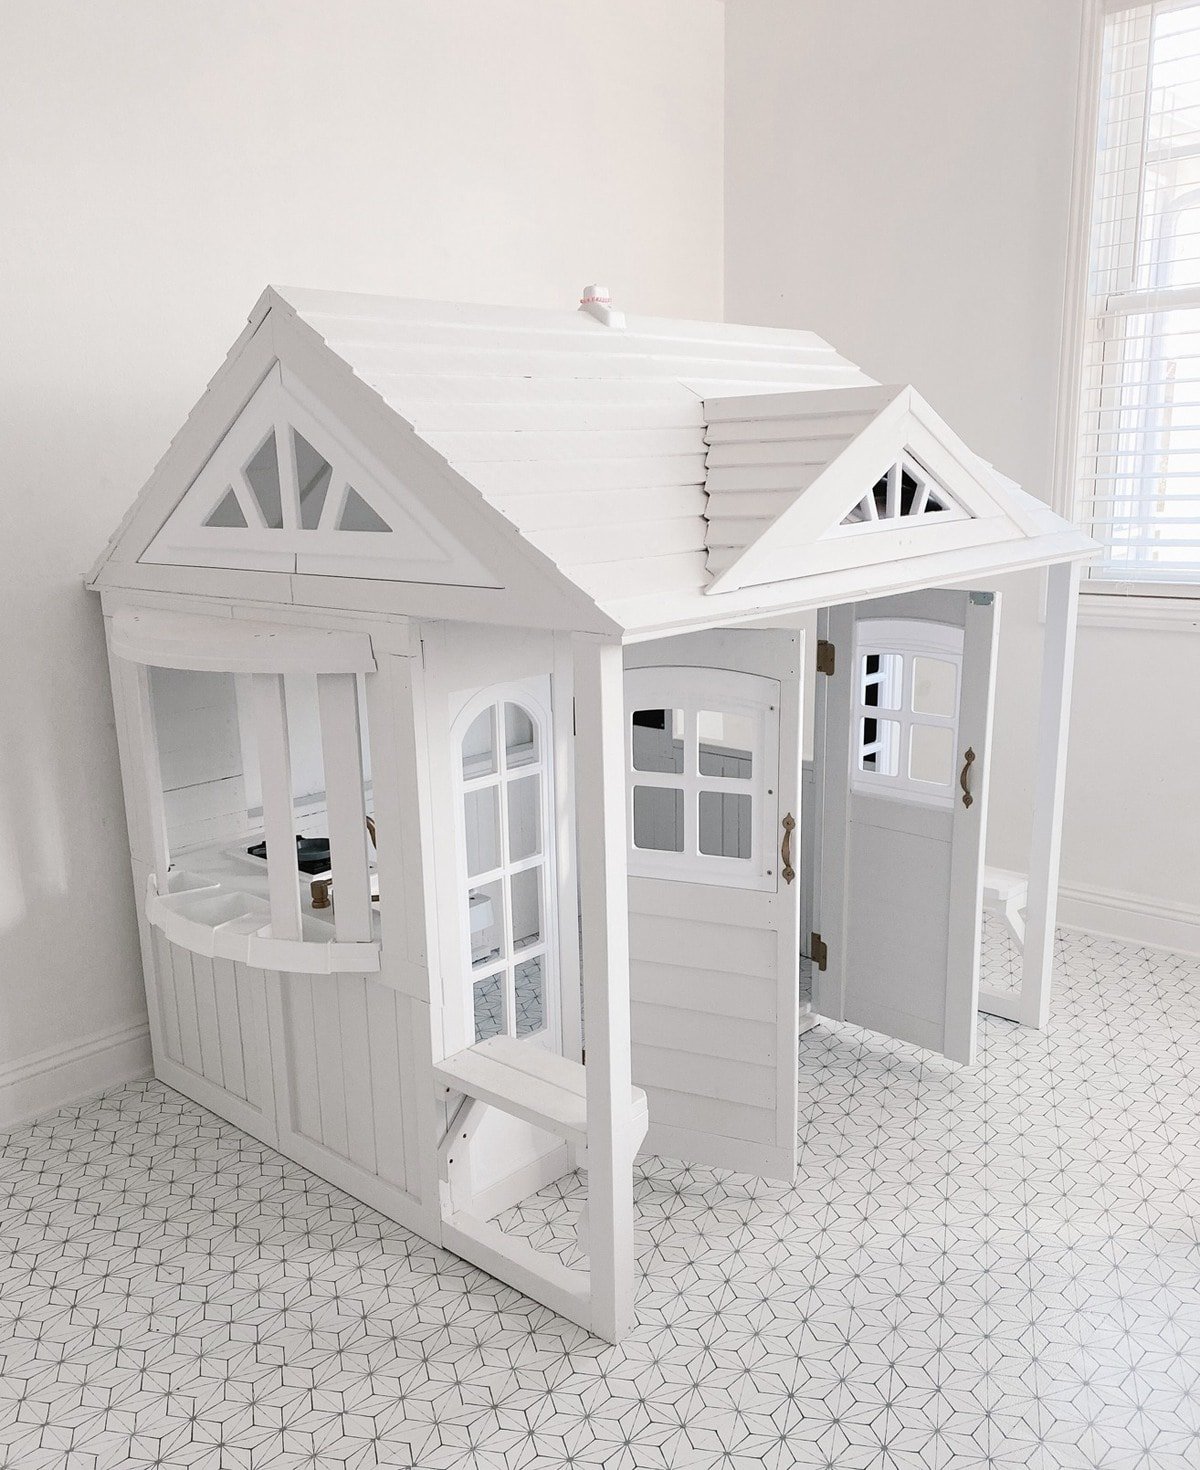
In total, we did two full coats and a third mini touch up coat to get the playhouse pure white. Neil and the girls slathered the paint on pretty thick using a regular paint brush in the more detailed areas and a roller on the big parts. The girls loved using paint brushes to concentrate on their little portion of the playhouse!
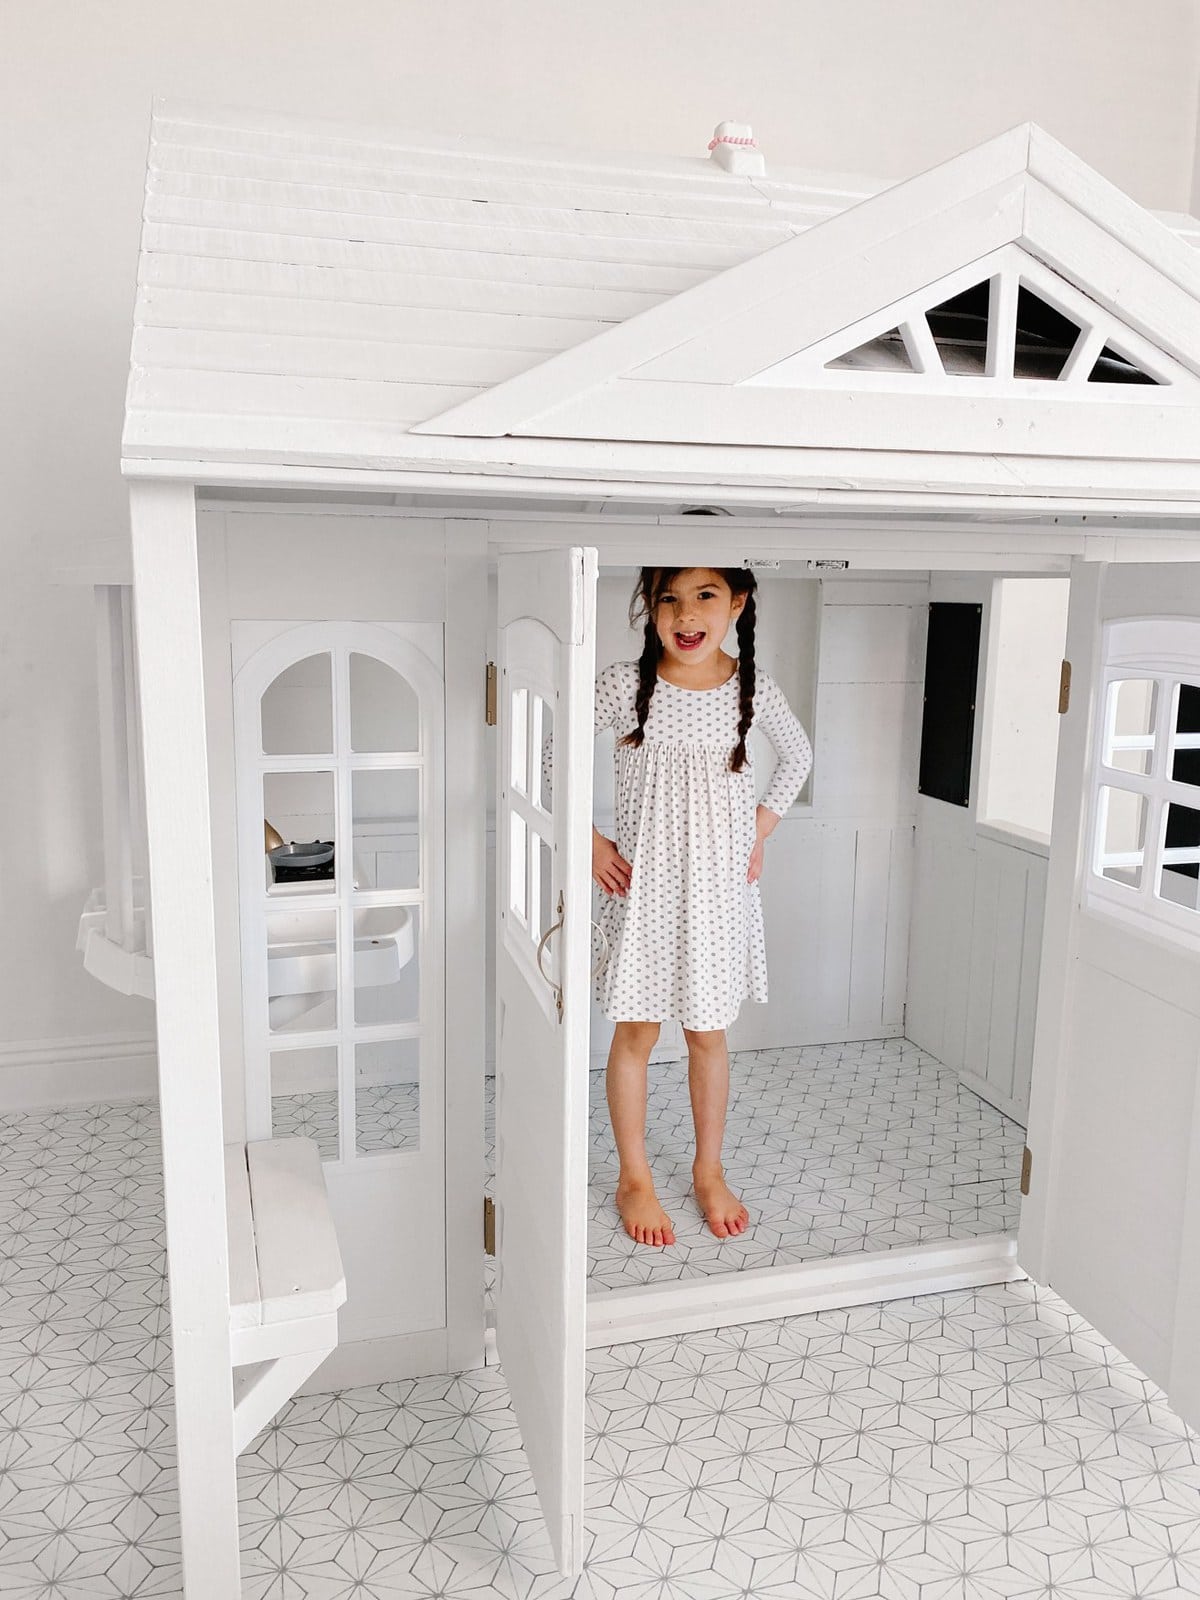
New floor plan
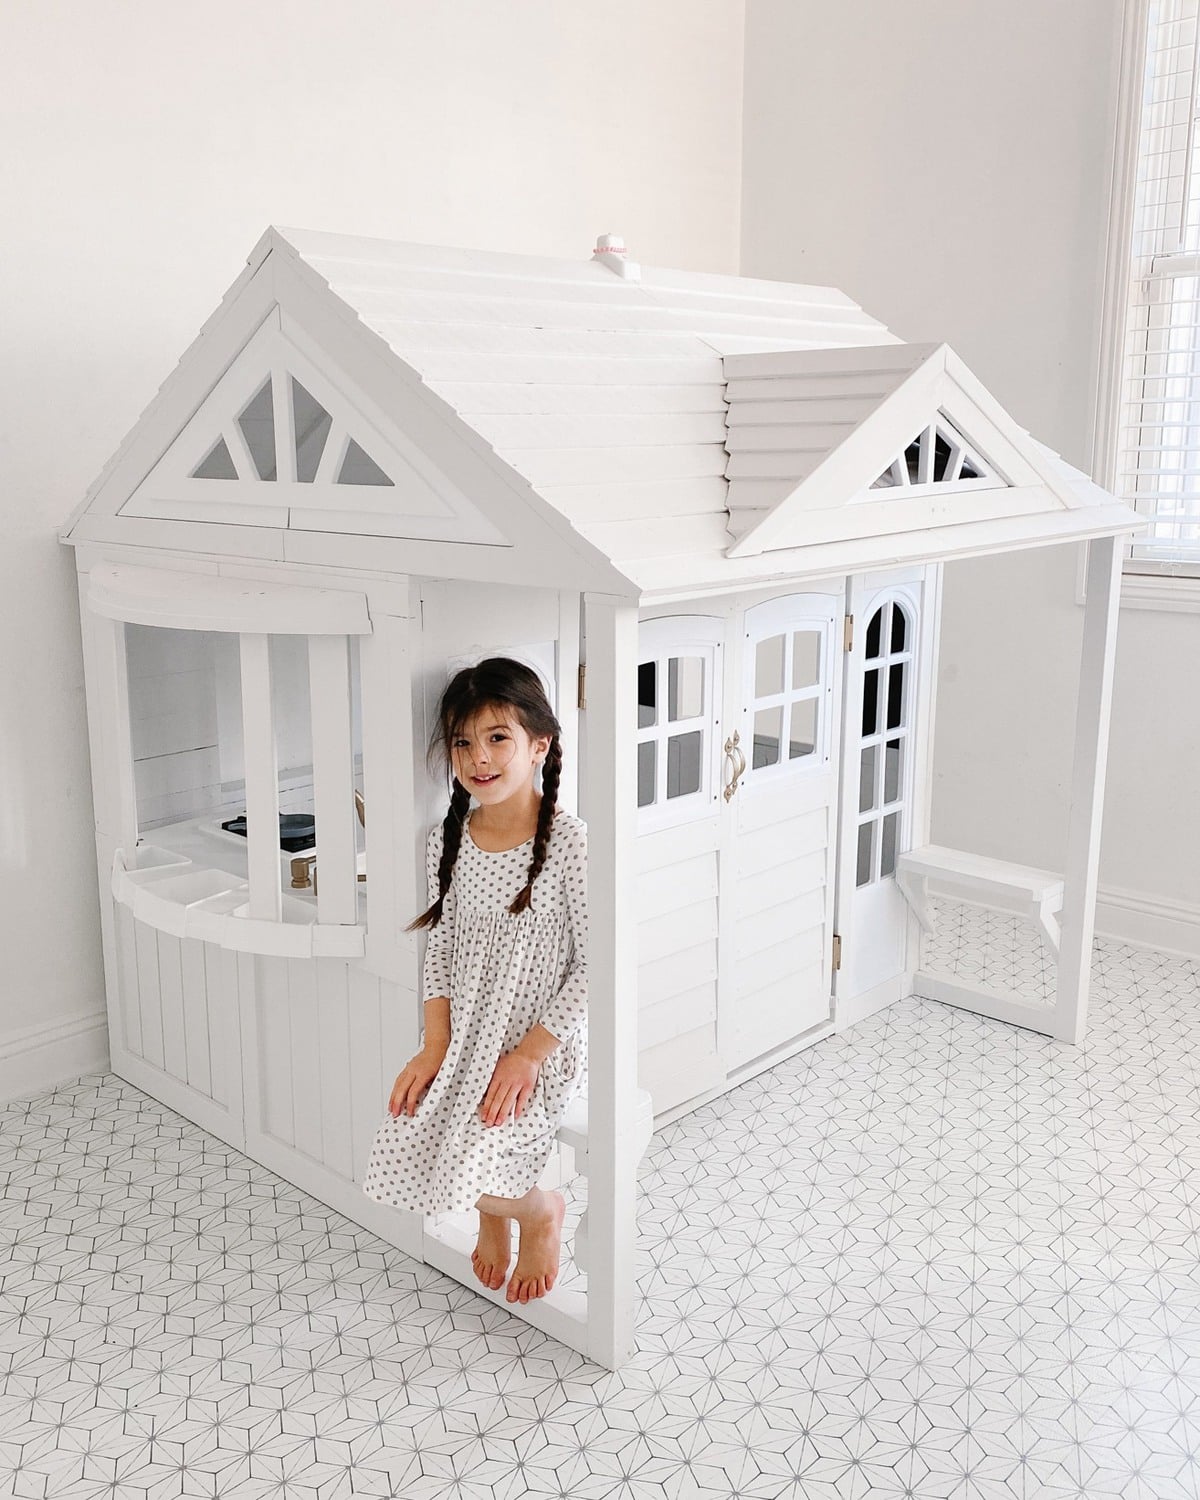
In addition to the paint and hardware, we also switched the porch around to frame the doors. That way we could put the house against the wall and make the most of the space! I love that it tucks right into the corner perfectly now, and it's by far the most popular part of the play room for ALL my girls, Millie included.
Look for less!
In the past, I looked into playhouses that came like this, more modern and all white and they are literally THOUSANDS of dollars! This Costco playhouse was only about $300, and the rehab on it cost us about $200. BUT people get rid of these playhouses constantly! Keep an eye out on your local resale pages, which will make this project even cheaper if you do it secondhand.
The big reveal
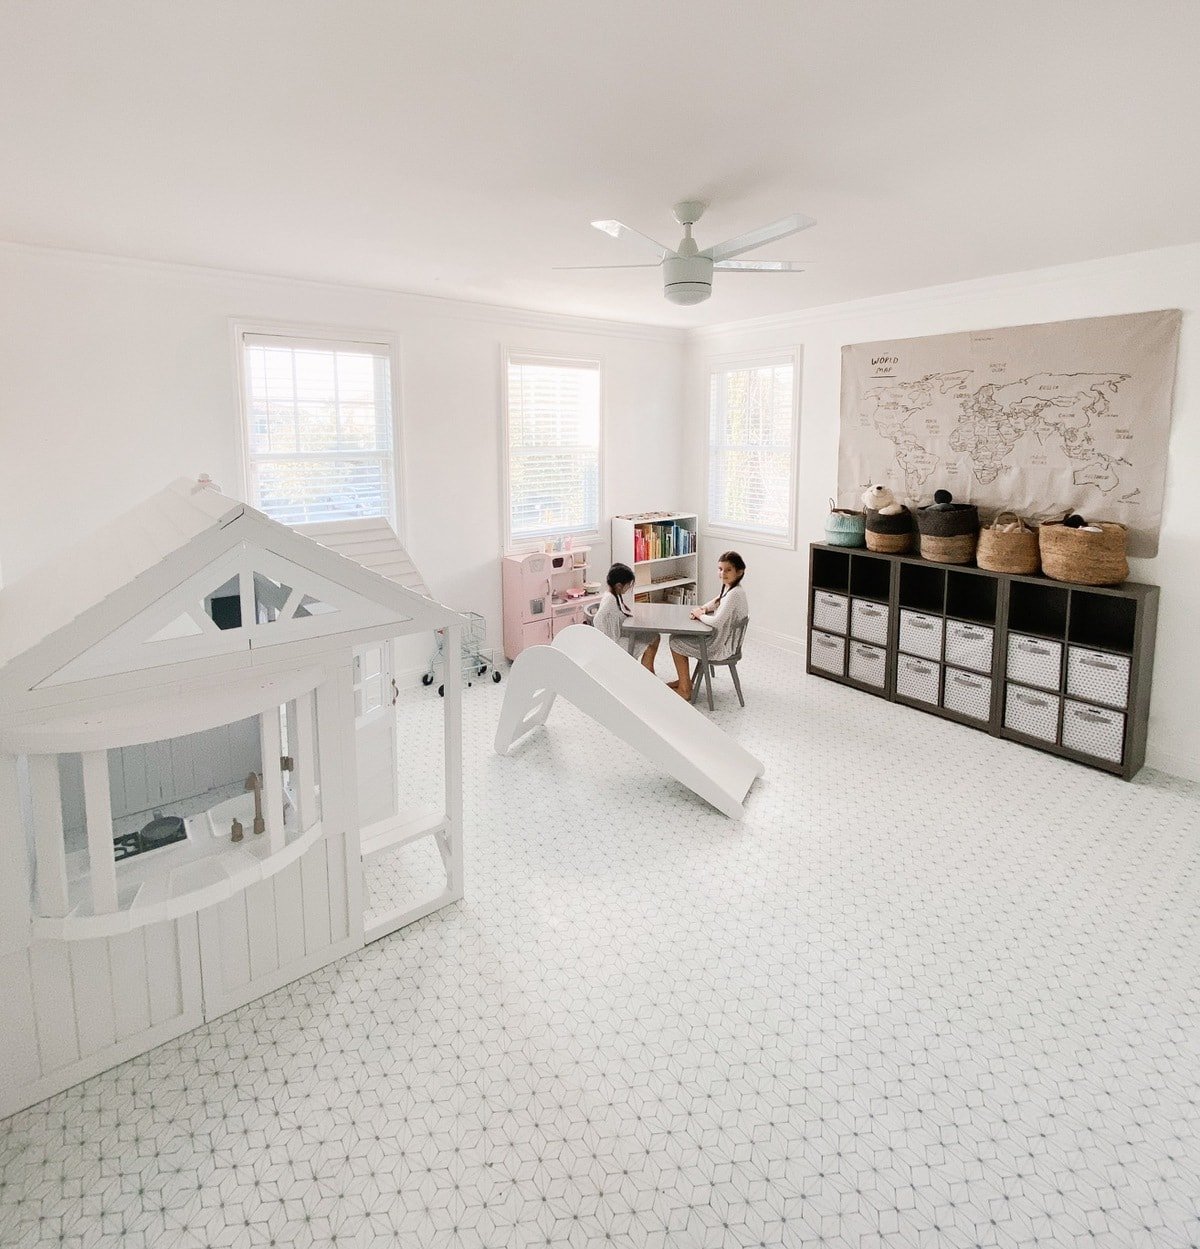
I am obsessed with how our playroom turned out! It's been a long time coming, and I feel like the playhouse pulls the whole look together. Our kids play in this playhouse every.single.day. I have some friends who have a similar playhouse they keep outside and they say it's a spiderweb magnet! So even though I really questioned Neil's wisdom in assembling this playhouse indoors at first, it turned out to be such a good choice for our playroom.
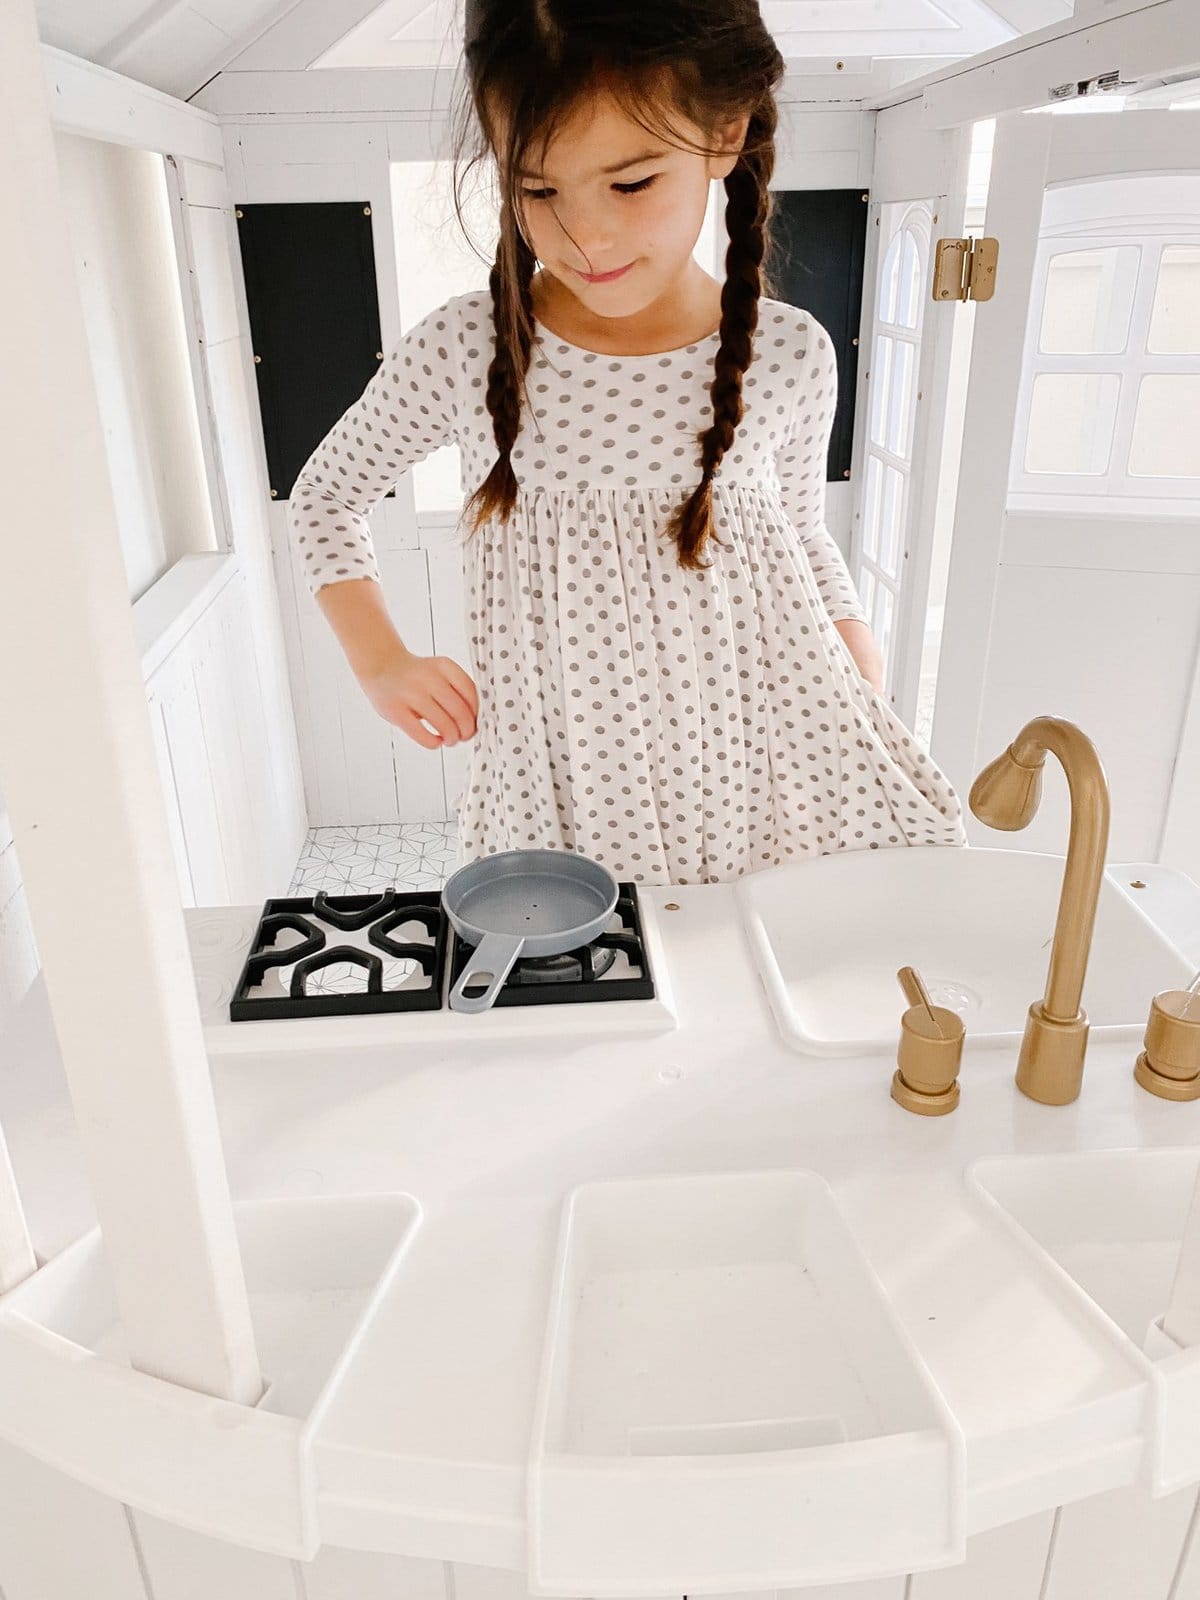
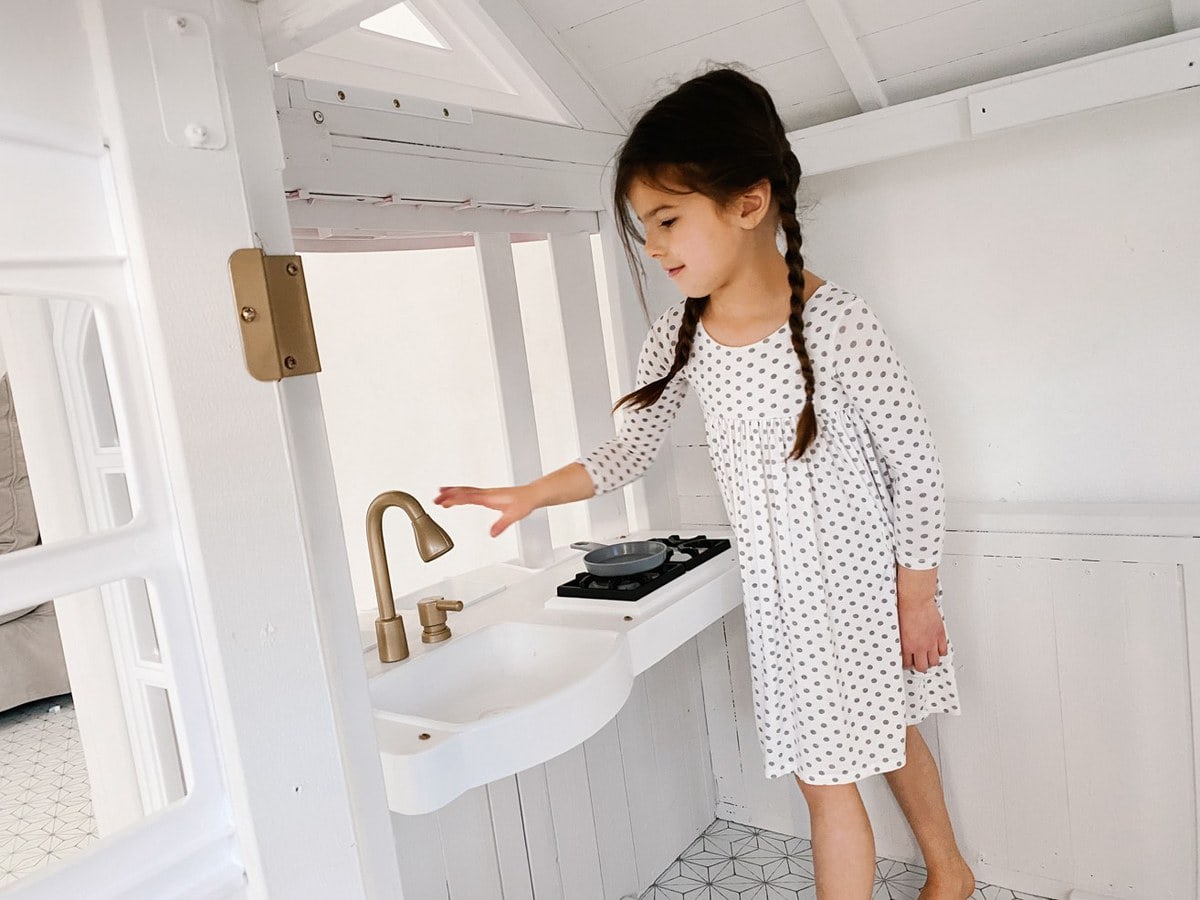
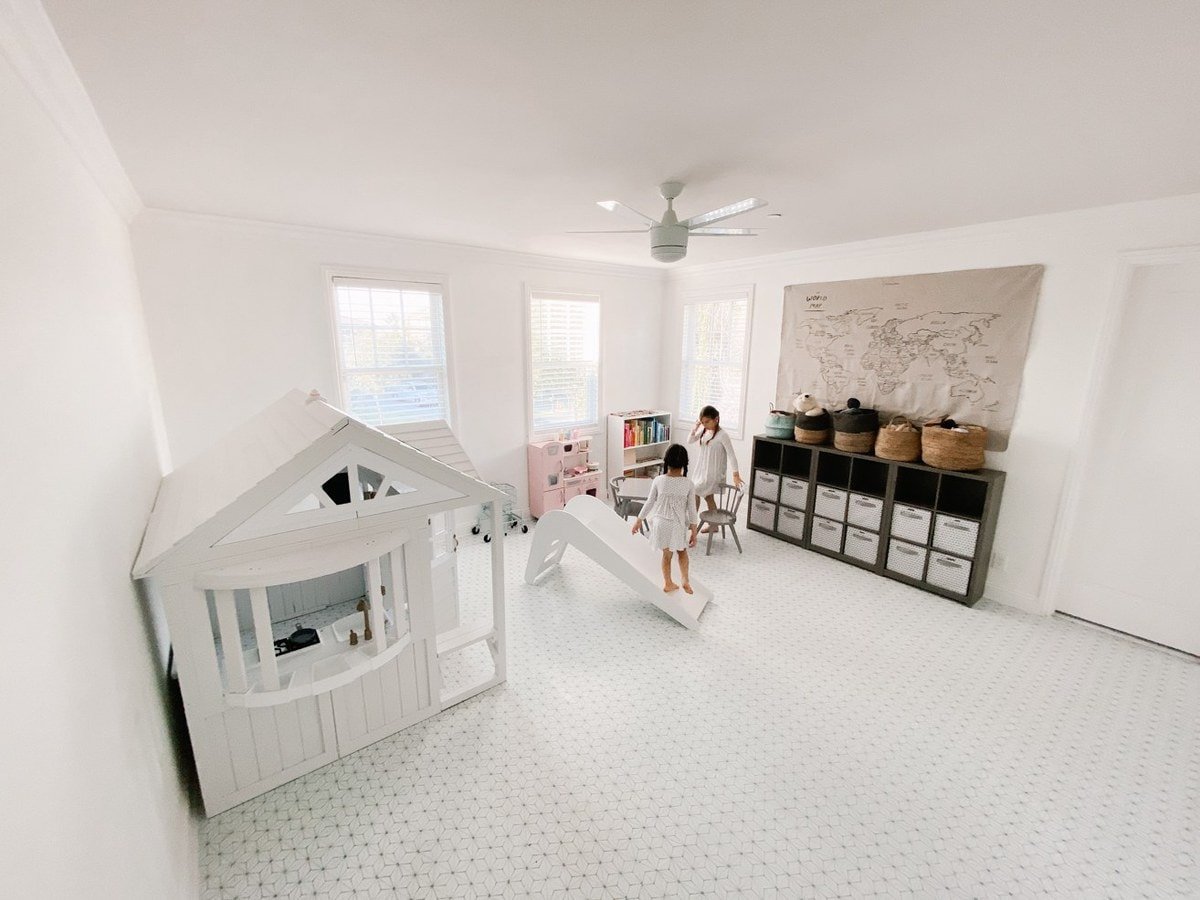
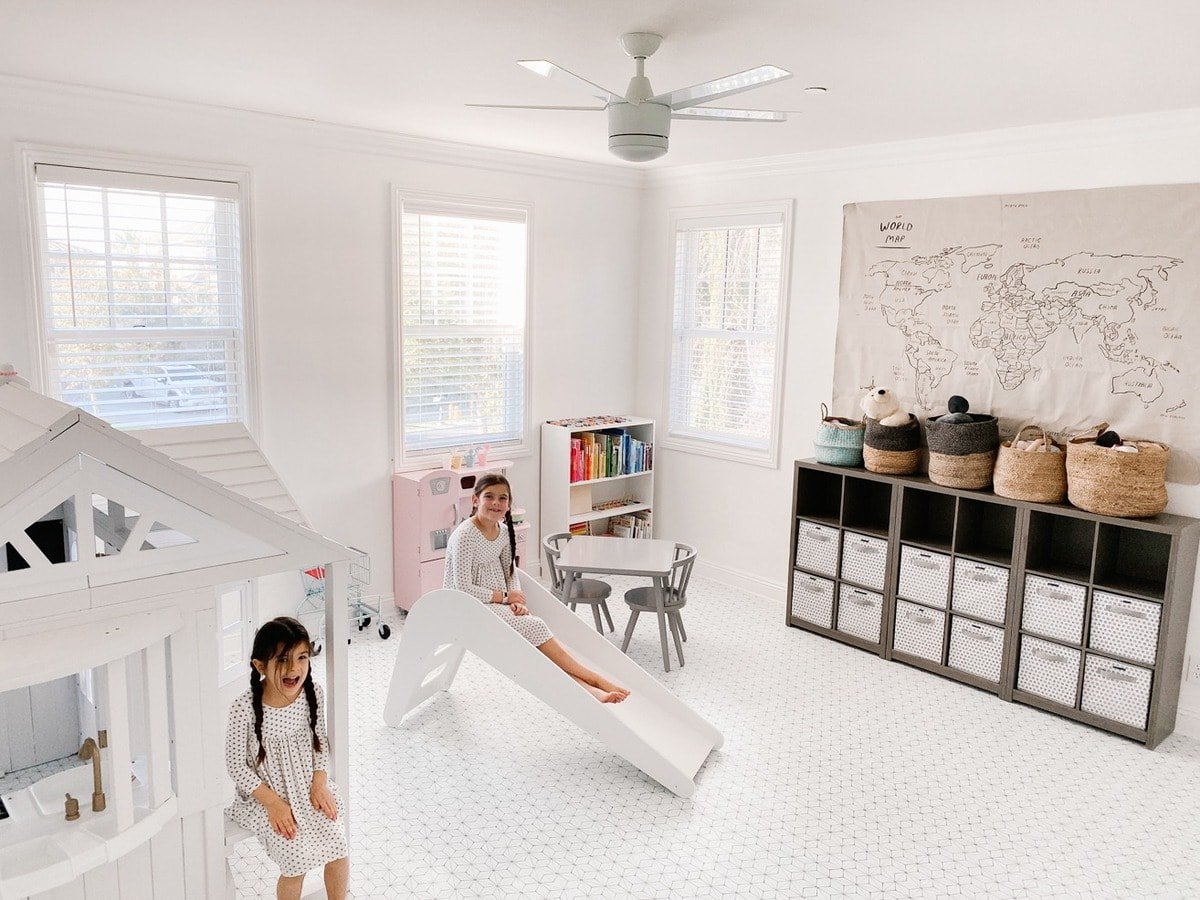
Playhouse sold out, similar here, here and here
White Chalk Paint
Gold Spray Paint
White Spray Paint
Canvas Drop Cloth
Girls Dresses
Floor Tiles
Wooden Alphabet Chunky Puzzles
Wooden Number Puzzle Sorting Stacking Toys
Cookware Set – Pastel
Wood Slide
Pastel Wood Rainbow
Ceiling Fan
Label Maker
White Book Shelf
Pink Kitchen
Shopping Cart
Small Aqua Decorative Basket sold out, similar
Brayton Baskets
Parrish Baskets
Storage Bin Dots Design
Table and Chair Set
Shelving Unit
Family project
I am so glad we were able to involve the girls in making over their playhouse. They feel like they have some sweat equity in this project, which makes them love it even more! Right now is the perfect time to do some DIY projects, involve your kids, and fall in love with being at home.





I have the same house and we are super excited to get started. We would like to know how you switched the porch around?
Hey Tiya! Neil says you just unscrew the top and turn it 180 degrees and screw it back on! Hope that helps 🙂 -Kourtney